Electrical and Solar
Difficulty
Time
4 days
Materials Used
Tools Used
We interact with countless objects in our daily lives that require electricity. The lights and appliances in your camper are no exception.
1 Alter and install roof rack
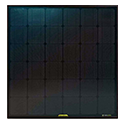
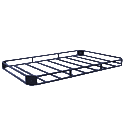
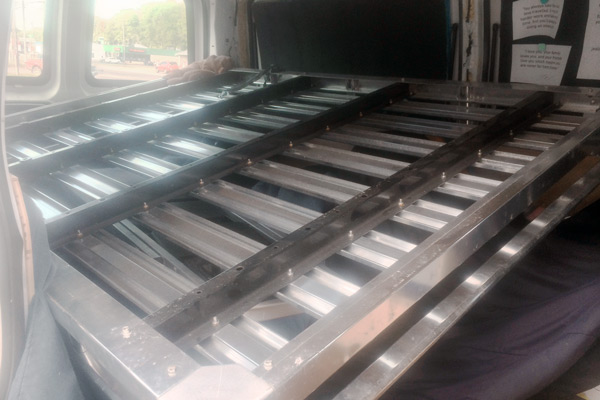
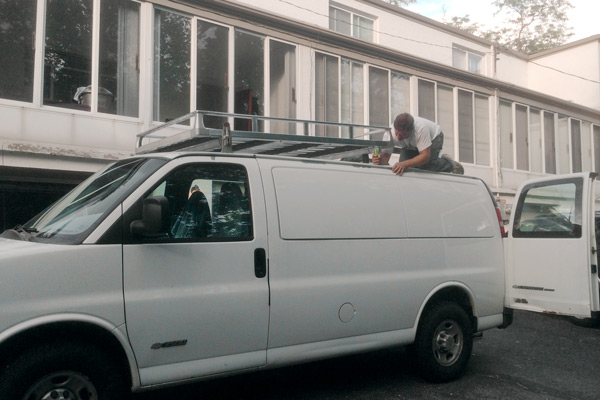
Since you want to avoid putting more holes in your roof, you will want to find a roof rack to secure the Boulder 90 Solar Panels to your roof.
Personally, I picked up an old Hummer cargo rack and some cargo bars off of Craigslist. My dad did excellent job altering the cargo bars to fit the roof and bolted the Hummer rack to those. Sturdy as a rock.
2 Install solar panels
Your Boulder 90 Solar Panels should come with their own mounting hardware and instructions. Follow them and you shouldn’t have any problems.
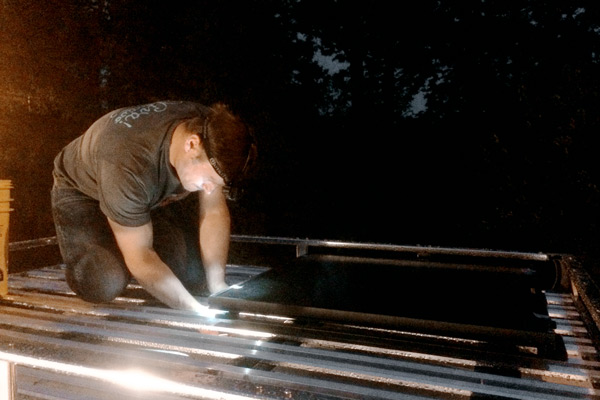
Installation of the solar panels is straightforward and relatively painless.
3 Run solar wiring to the inside
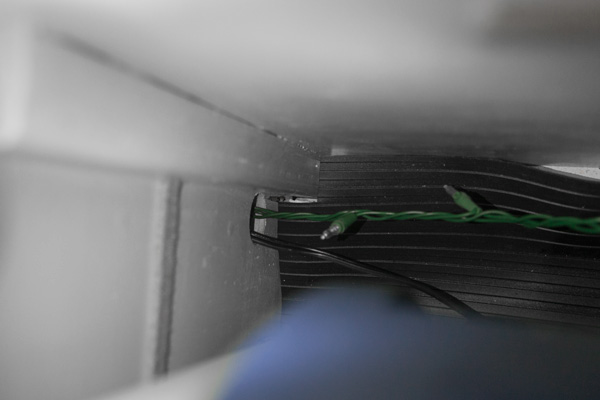
Drill a hole below the roof’s rain gutter. Run the solar panel wiring inside and caulk around the hole to create a watertight seal.
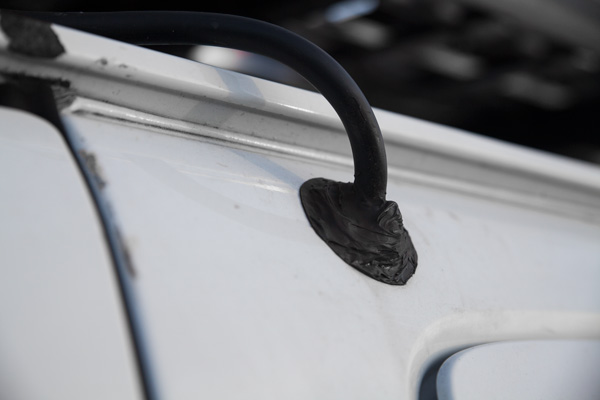
Make sure you leave ample wiring on both sides to allow some flexibility.
4 Run wiring for lights and dimmer
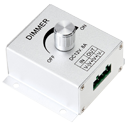
While the lights are not up yet, you can still get the wiring in place. You’ll need to drill holes in the back of you kitchen unit to where the dimmer is located.
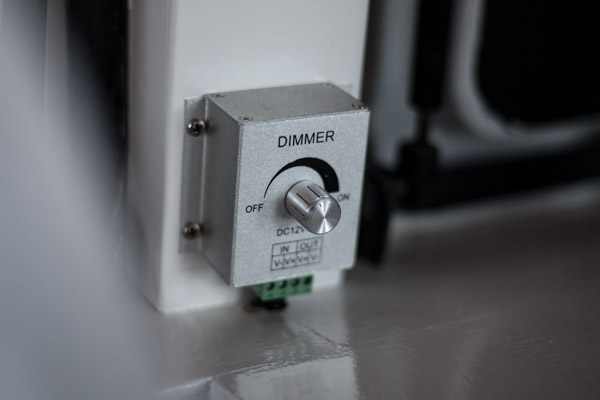
The dimmer is located in a convenient location between the bed and kitchen.
5 Hook up wiring for fan and fridge
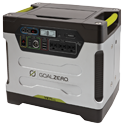
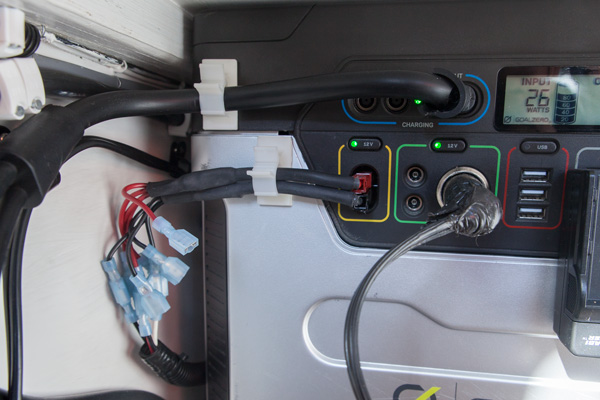
The wiring for the fan and lights should meet to where you can heat shrink them together forming what looks like a single cable. The fridge will require you to drill another hole in the wall between your fridge and solar generator. I used these 12v quick connects to make it easy to connect into the Goal Zero Yeti inputs. The fridge connects using a 12v car port adapter.
Follow the adventure on Instagram
Proudly hosted by Media Temple.
©2016 All rights reserved.
