Preparation
Difficulty
Time
6 days
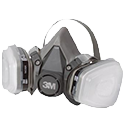
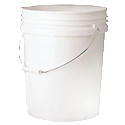
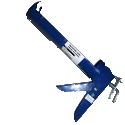
Materials Used


Before the build-out officially begins, we'll need to ensure your blank canvas is a clean canvas.
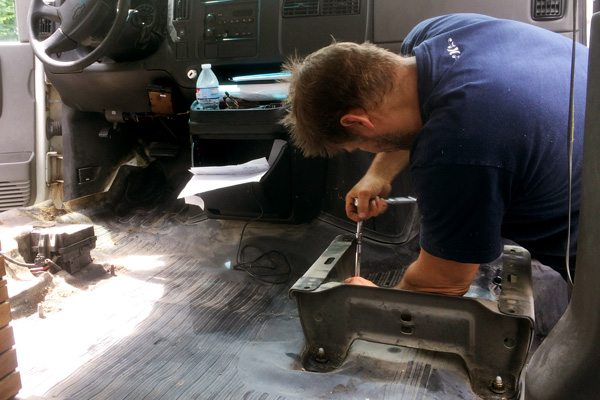
1 Remove pre-existing fixtures from the van
The first decade of my van’s existence it was used by an electrician up in Vermont. This meant it had all the staples of a work cargo van: metal tool shelves, a front cage and a very dirty floor mats. To get a true blank slate, it’s important to strip the van of all of these fixtures.
First, remove the shelving and front cage. You won’t need them anymore. Make a buck by selling them on Craigslist. Remove your front seats, runners and floor mats. Set them aside where they won’t get ruined or stolen.
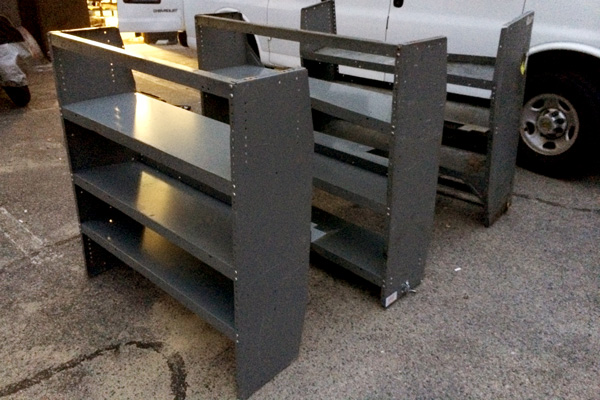
Sold these guys on Craigslist for $150. Not bad.
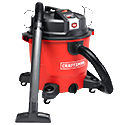
2 Do a quick preliminary cleaning
If your van is more than a year old, it most likely has a layer of dirt, grime and dust build up on the floor. Use a shopvac and small hand broom to clean it. You may need to use a small scraper to loosen any areas of large dirt buildup that has accumulated.
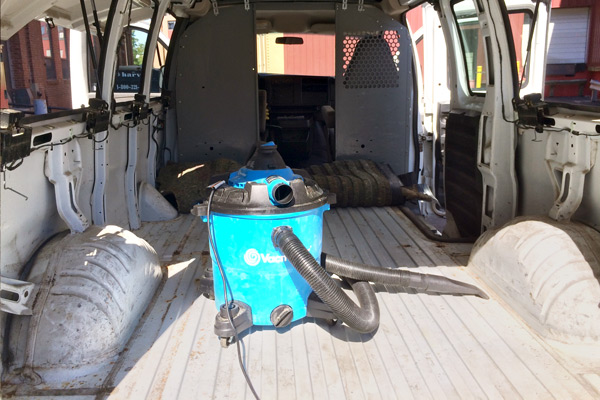
While the amount of dirt found under the mat of a decade old van isn’t surprising, the level of disgust is still high.
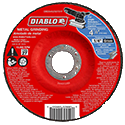
3 Grind all surface rust off
Using an angle grinder and wire brush attachment, grind off all surface rust from inside your van. Look for subtle, uneven surfaces on the metal to find rust that is concealed by your van’s paint job. For tight areas and corners, you will have to use a small wire brush to scrape the rust off.
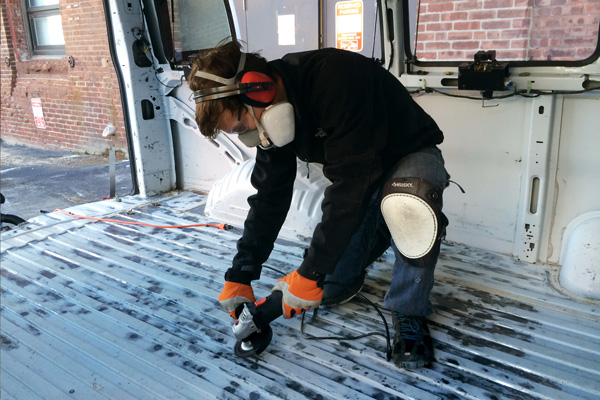
All the dark spots on the floor are areas where surface rust was present and had to be ground off.
4 Clean entire van thoroughly
Before you paint, make sure every surface is spotless. Sweep and vacuum the dust. Then take soap and water to scrub everything clean. My shoes can get pretty dirty so I took the precaution of wearing disposable booties during cleaning and painting.
-
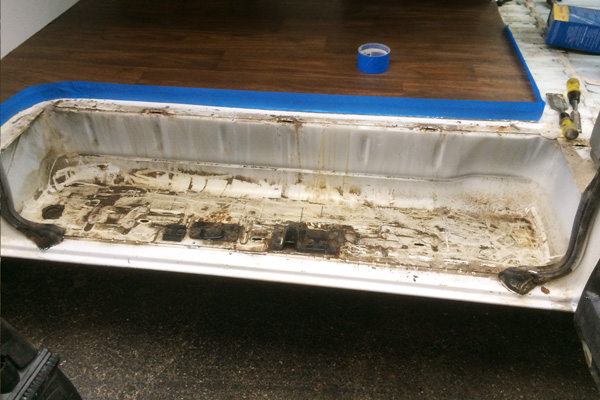
While this door step and the driving area of the van was cleaned and painted after most of the conversion was done, it would have been easier to do at the very beginning with the rest of the van.
-
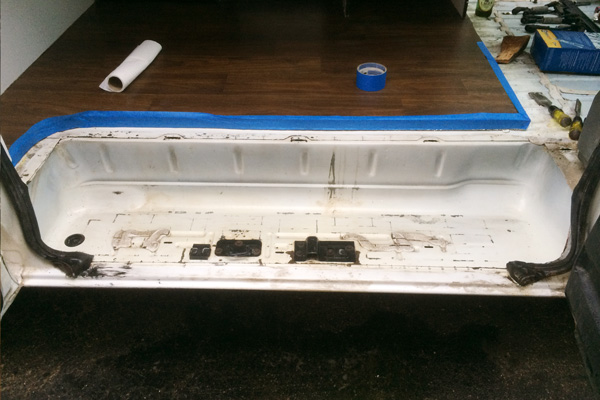
The door step after a good scrub and clean is already a huge improvement.

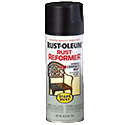
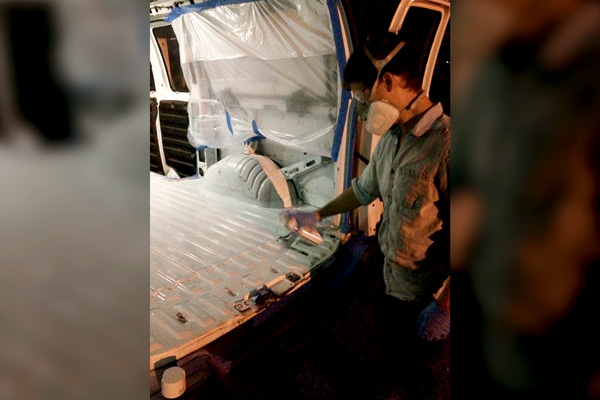
7 Spray anti-rust paint on any exposed metal
First, tape anything you don’t want painted white using painter’s tape. This includes weather stripping, latches and door panels.
There’s multiple brands of rust-conversion paint. Some comes in a spray can. The really heavy duty stuff comes in a two part mixture you brush on. Use the one of your choosing to paint over any exposed metal that you grinded.
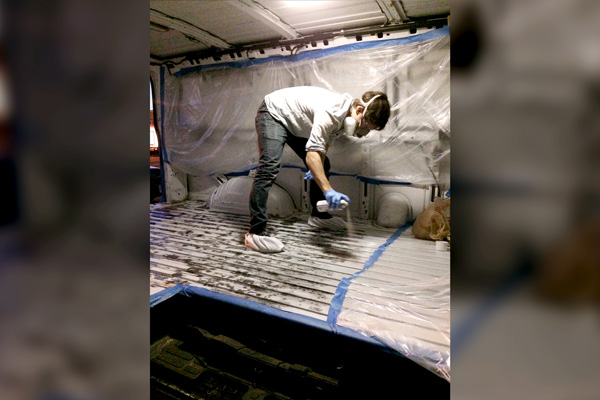
While it’s debatable whether this step is really necessary, it seems like a reasonable precaution to take. Rust is no joke.
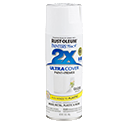
8 Spray paint final coat of white paint
Purchase several cans of glossy white spray paint. Be sure it is made to paint metal. Spray evenly over the floor, walls and ceiling. After completing, you should have a cargo van that looks like it came straight off the dealership lot.
While the appearance of this paint job is irrelevant (it’s all going to be covered up later), it’s still good to practice good spray painting technique. Nice even strokes from the right distance.
9 Reinstall front floor mat and front seats
Clean both the front floor mat and seats before placing back in your van. Leave the floor mat for the cargo area outside as you’ll be using this to make a floor template in the next chapter.
For certain parts of the van that are missing or otherwise damaged, check your local junkyard for a replacement. My driver’s side seat had a big tear and was inexpensively replaced with another seat found at the junkyard.
Prev Chapter

Introduction
Next Chapter
Insulation
Follow the adventure on Instagram
Proudly hosted by Media Temple.
©2016 All rights reserved.