The floor serves as the base of your build and an easy introduction to the basic principles of carpentry.
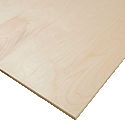
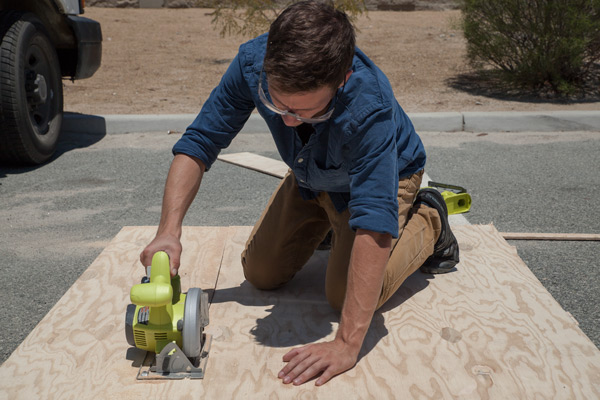
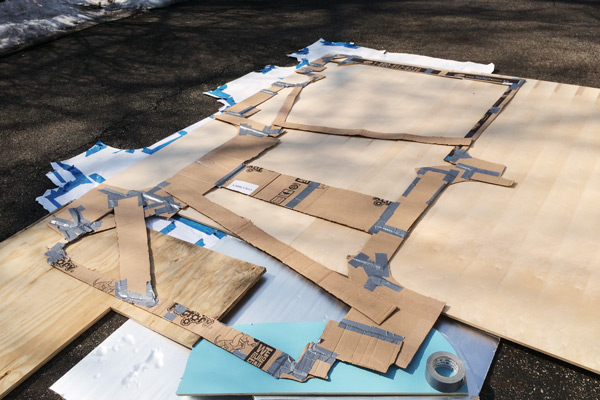
1 Use floor template to cut plywood subfloor
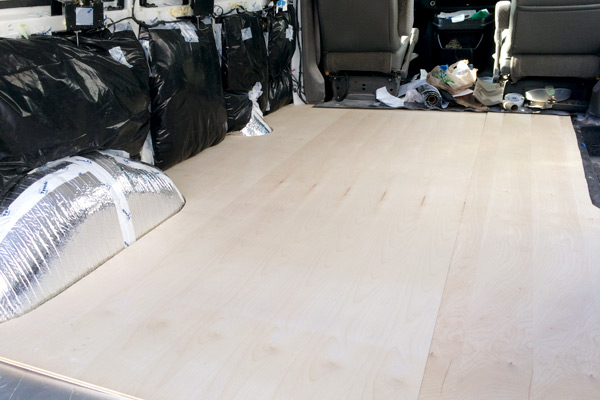
If you still have a flawless floor template from insulating you can use it for this step. Otherwise, make a new one. The raw sheets of plywood will be smaller than the floor of your van. You’ll have to create another mosaic layout with the plywood. Try to differ the seams of the wood subflooring to that of your rigid panel insulation.
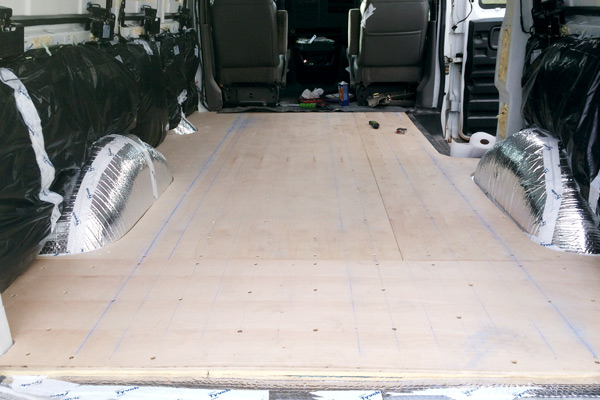
2 Attach subfloor with screws
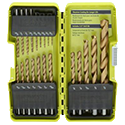
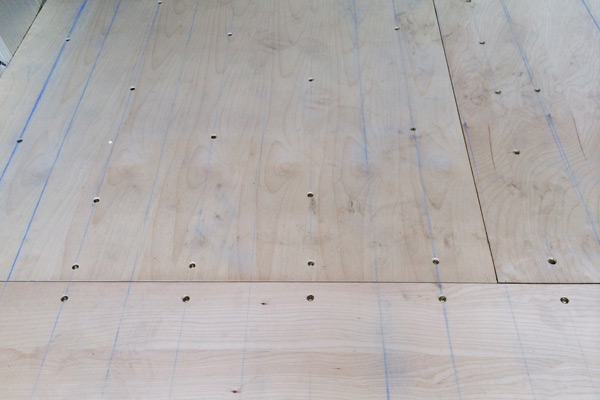
Once your subfloor is in place inside the van you’ll need to secure it to the metal cargo van floor through the layers of insulation below. I used a chalk line to mark where the cargo van’s floor grooves are and then only drilled where the grooves were raised. Make sure to use anti-rust screws and countersink them into the wood.
3 Fill and sand screw holes. Caulk seams.
Self explanatory. Fill with wood filler. Use only medium to fine sandpaper grit so you don’t sand too much off your wood subfloor.
Using caulk, fill the seams present in the mosaic layout of your subfloor. Make sure the caulk is level with the wood.
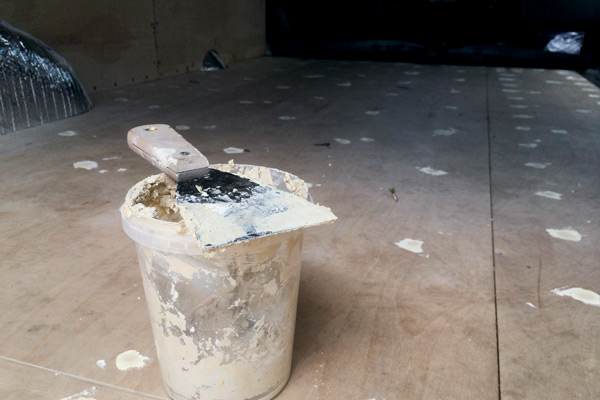
You may have to fill a hole with filler a second time after the initial sanding.
4 PAUSE. Finish walls and ceiling before laying down floor vinyl
Waiting to install your vinyl floor will prevent it from being scratched or damaged while building the walls and ceiling. Putting up your walls beforehand will also shrink the flooring that you need to cover with vinyl. This means you’ll be able to use six foot wide single sheet vinyl instead of the full 12 ft wide variety.
Follow the adventure on Instagram
Proudly hosted by Media Temple.
©2016 All rights reserved.
