Bed and Kitchen
Difficulty
Time
11 days
Materials Used
-
1/2" Birch Plywood
-
1/4" Birch Plywood
-
2" x 2" x 8' Lumber
-
Assorted Screws
-

Wood Filler
-
Wood Glue
-
Cardboard
-

Sand Paper Discs (Various Grit)
-
Gas Spring Lifts
-
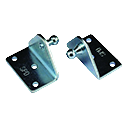
Mounting Bracket
-
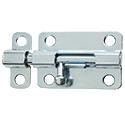
Barrel Bolt
-
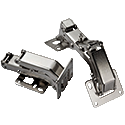
Concealed Hinges
-
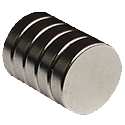
Rare Earth Magnet Disc
-
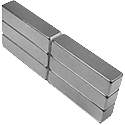
Rare Earth Magnet Bar
-
Felt
-
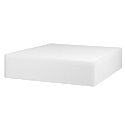
Foam Block
-
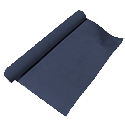
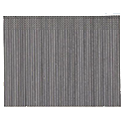
Upholstery Fabric
-
Futon
-
Staples
-
Brad Nails
Tools Used
Circular Saw

Random Orbital Sander
Jig Saw
Brad Nailer

Power Drill
Assorted Driving Bits
Assorted Drill Bits
Countersink Bit
Tape Measure
Large Framing Square
Putty Knife
Sand Paper (Various Grit)
Protective Eyewear
Utility Knife
Cutting Pliers
Angled Bar Straight Edge
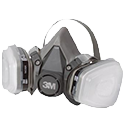
Respirator
1/4" Chisel
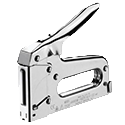
Stapler
The value of a well-designed kitchen and bed shouldn't be underestimated. It's an opportunity to maximize your space's function and improve the ease of your daily routine once on the road.
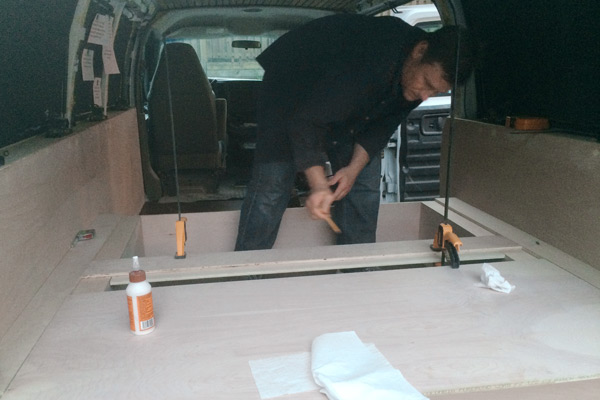
1 Measure and cut plywood for bed base
This is a bit tricky as your walls may have a slight curve to them. Since the futon doors need to be square, the sides will need to be adjusted with additional wood pieces to take into account this curve. Also, include a piece of wood in the middle that will be used to attach the hinges of your futon doors to.
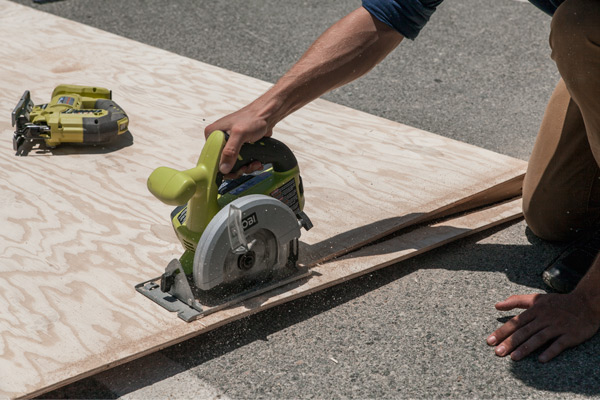
At this point, you should be a pro at making straight even cuts with your circular saw.
2 Build bed using braces
Using the same technique as done with the walls, the bed should be assembled by securing them with braces and attaching them to the wheel well boxes. A center column should be built to support the middle piece of wood.
-
A similar process to building the initial walls in th van. Braces are used to add the extra strength needed for a bed.
-
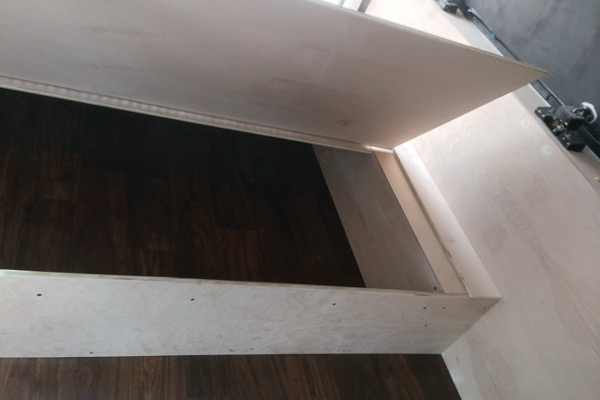
The doors of the bed have a 3/16" tolerance around all sides to allow easy opening and closing.
-
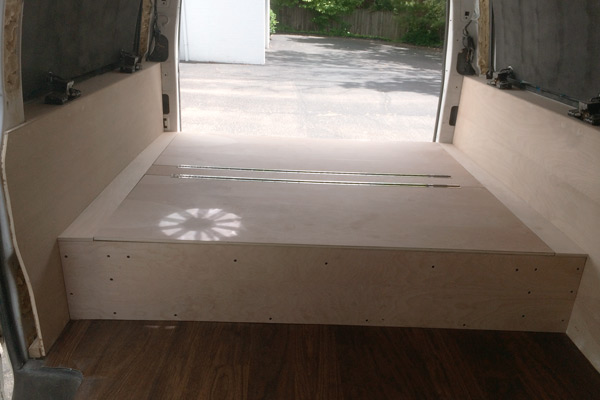
The final futon bed.
3 Attach bed hinges, install pneumatic lift and locks
Attach the long piano hinges to both the middle of the bed and the bed doors. You will need to remove these hinges during painting to make painting the doors easier.
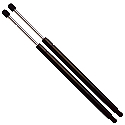
After figuring out the exact angle for the backrest of the futon, 100lb pneumatic struts were secured to both the bed doors and the wheel wells. Attach as high as possible on the wheel wells to maximize the space you can use when the doors are in the down position.
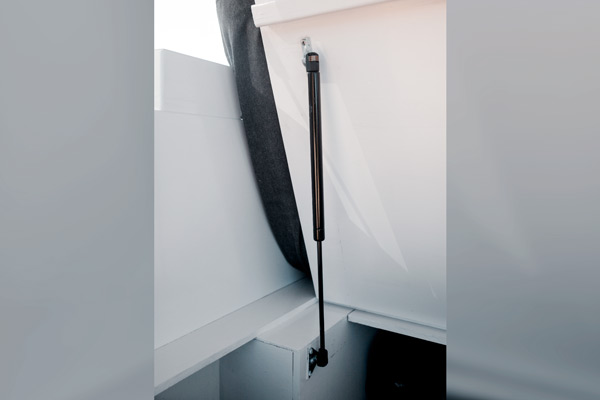
Special care should be taken to ensure the angle and placement of the lifts are the same on both sides of the bed.
4 Build kitchen walls and shelves using a mix of braces and struts
Lots of measuring. A good amount of cutting. The main thing to remember is to be absolutely confident the kitchen walls are level and square. If they’re slightly off, you can trace your shelves over the area they are being secured to to ensure they fit properly.
To secure the kitchen walls to the van use chopped off screws in the kitchen walls and while in their proper place, lightly hit with a mallet. You’ll be left with indents in the floor that you can then drill into. The chopped off screws in your kitchen walls will slide right in. Use braces as you have done before to support the shelves.
-

Screws are screwed into place and then the heads cut off using a dremel or FILL IN LATER.
-
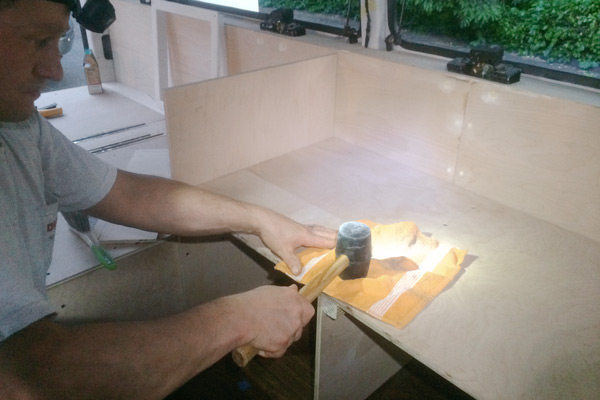
A gentle smack on the top will create the indents in the vinyl floor.
-
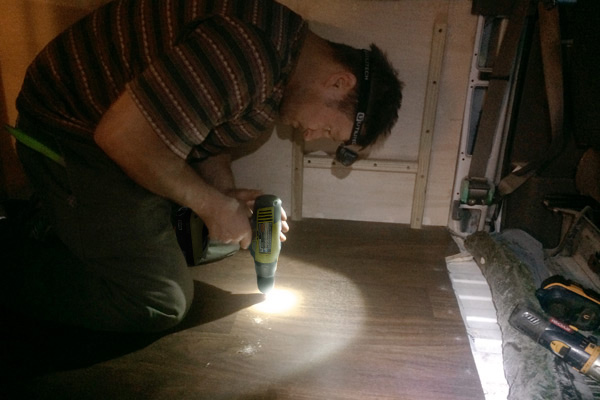
Holes are drilled in their corresponding spots.
-

After the holes are drilled the screws should slip right in, anchoring the walls to the floor.
-
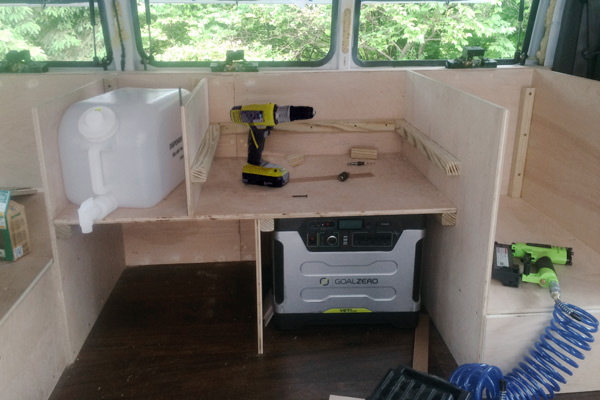
Braces in the right places will add the strength needed to have weight bearing shelves.

5 Cut and attach doors with hinges and magnets
Cut the doors to size. For doors you want permanently in place secure use heavy duty hinges. If you want the option to remove the door completely inset rare earth magnets both into the door and within the kitchen unit itself.
-
Concealed hinges were used to hide the door's hardware and provide the robust strength needed.
-
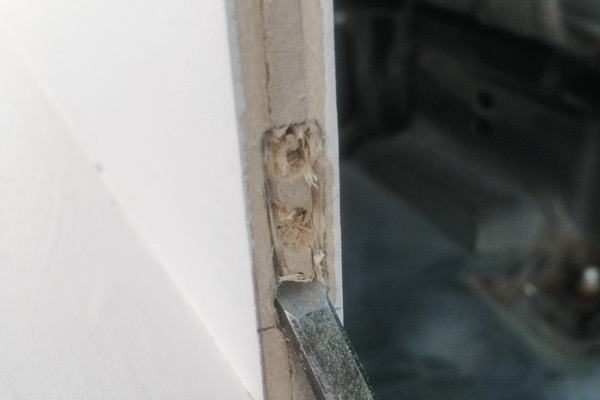
After the magnet was traced, wood was carefully chiseled out to the depth of the magnet.
-
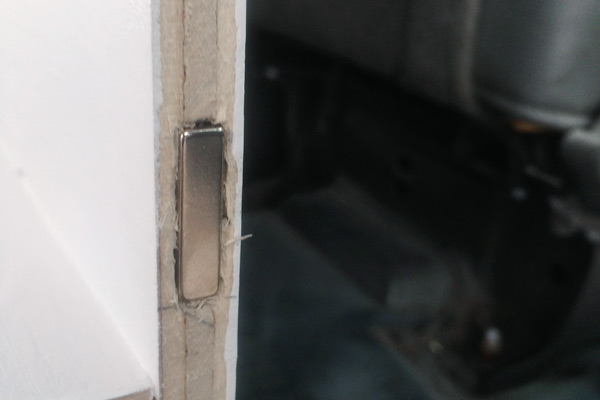
The magnet was then glued into place. A magnet was also installed on the opposite door in a matching spot.
6 Alter futon bed to fit
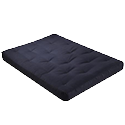
Originally I planned on getting a custom futon made to fit to size. However with a lack of time and funds, I went a more inexpensive route. Bought a used Ikea futon on Craigslist, opened the cover and snipped the springs to the length that I needed. My mother then graciously sewed this up and made an additional cover over the mattress.
-
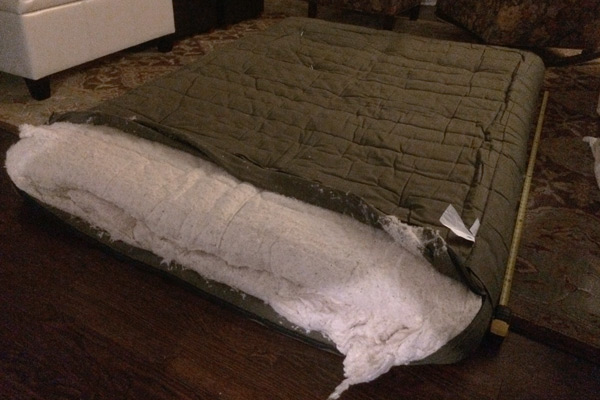
I've never seen the inside of a cheap futon. Now I know. You can see a tape measure on the side of the bed to find the approximate length needed.
-
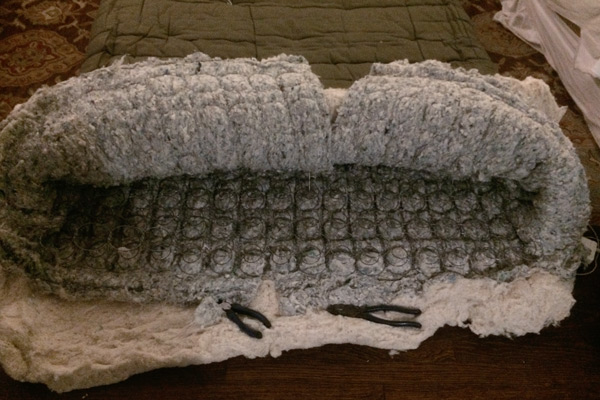
Painstakingly cutting the bed of springs to the right length.
-
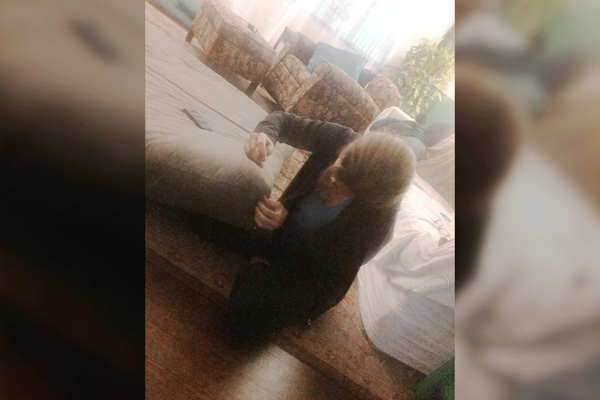
My mother doing a wonderful job sewing it all back together.
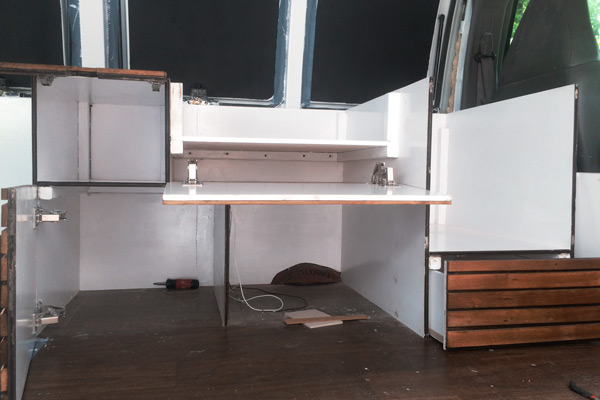
7 Make table
To accommodate more people or more space when eating, cooking or working, a table was made that is essentially just a board that can rest between my kitchen unit and the opposite wall. It was custom cut to fit snug into the specific indentations of the wall. A small piece of lath was secured to the bottom to keep it from moving when in place.
When not in use this is stored behind the driver seat.
-
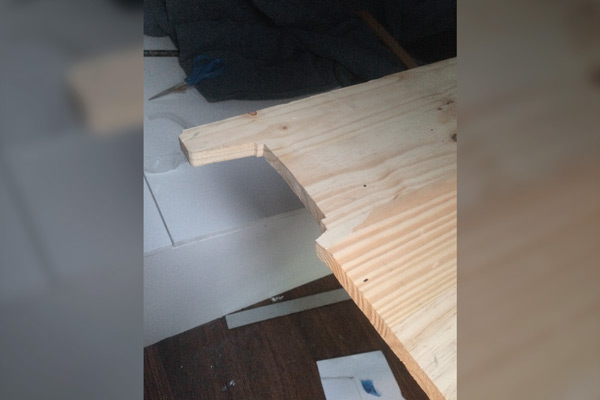
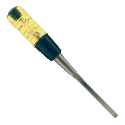
A scriber was used to template directly onto the board of wood.
-
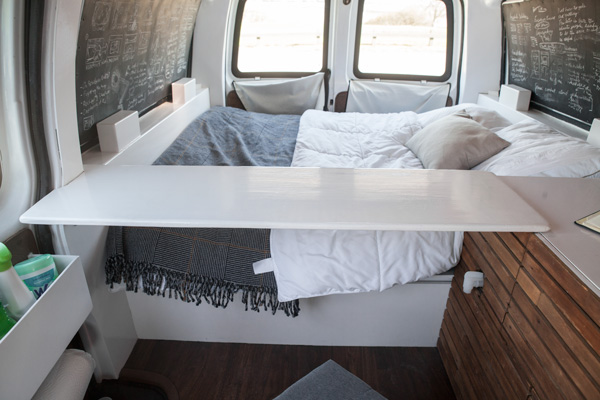
The final removable table.
-
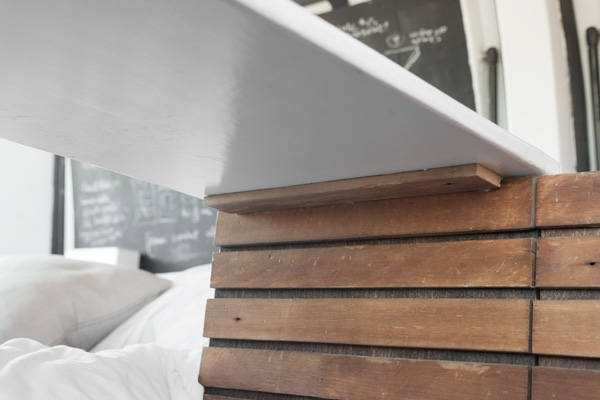
A piece of lath secured to the bottom prevents the table from sliding and moving all over.
-
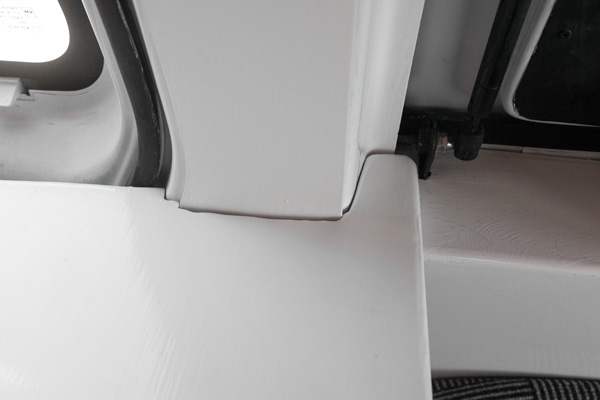
The custom shape created to fit this section of wall.
-
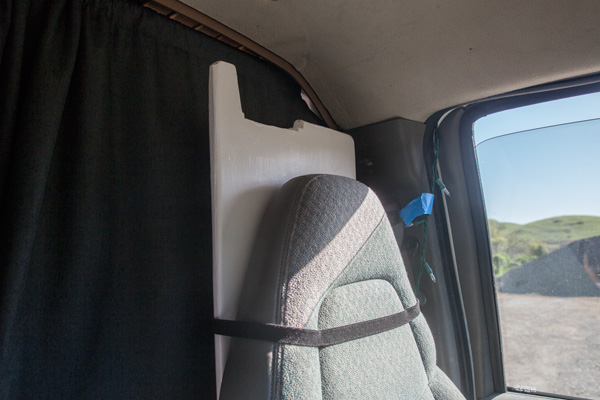
It's normal resting place. To be honest, I never notice it behind my chair.
8 Build stool trash can
Probably the most functional element of the entire van. It’s a simple wood box with a removable lid with a fabric wrapped cushion secured to the top. A slightly smaller open-faced box was built to sit inside the larger box to accommodate a trash bag, essentially turning the inside of the stool into a trashcan!
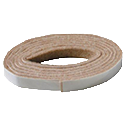
Felt was attached to the bottom so the stool so it can be moved without scratching the vinyl floor.
-
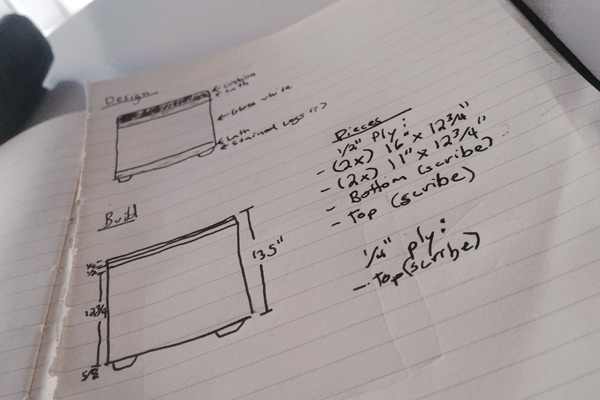
The initial sketches and plans.
-

The finished stool with a foam seat that I upholstered myself.
-
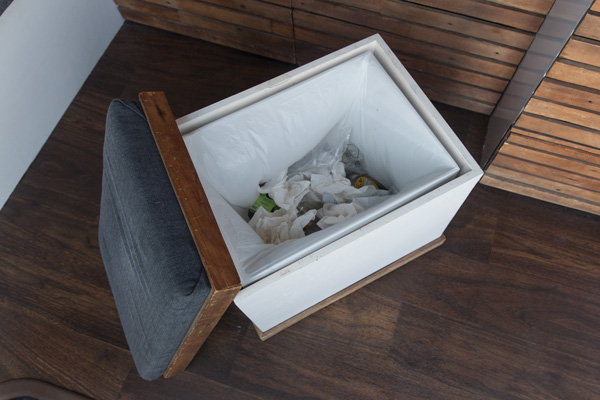
The trash can inside the stool. Luckily, I never notice any odor from this when the stool is closed.
-
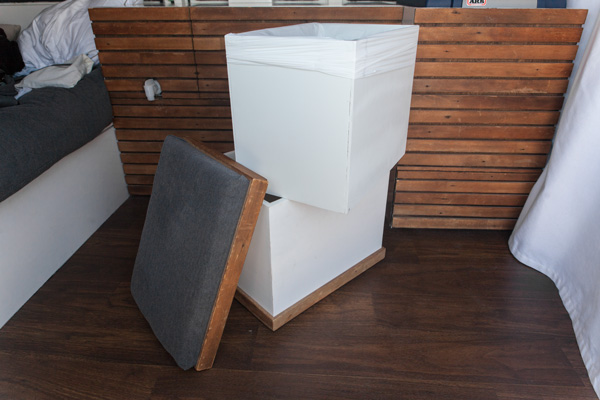
All the pieces of the stool expanded.
Prev Chapter

Walls
Next Chapter

Electrical and Solar
Follow the adventure on Instagram
Proudly hosted by Media Temple.
©2016 All rights reserved.