


Welcome to the exciting journey of converting a van into a beautiful and functional camper. I'll be your tour guide today. Please remember to keep your hands, feet and power tools inside the van at all times.
1 First things first
Contrary to what is implied with the name of this site, the information provided here is less of a strict paint-by-number manual, and more of a general guide that you can stick to or deviate from as much as you want.
Depending on your budget, vehicle, or just general requirements your experience may differ considerably from what is outlined in the information on this site. However, there are many tried and true practices most van conversions follow and my hope is you’ll be able to use my journey as a resource throughout the process.
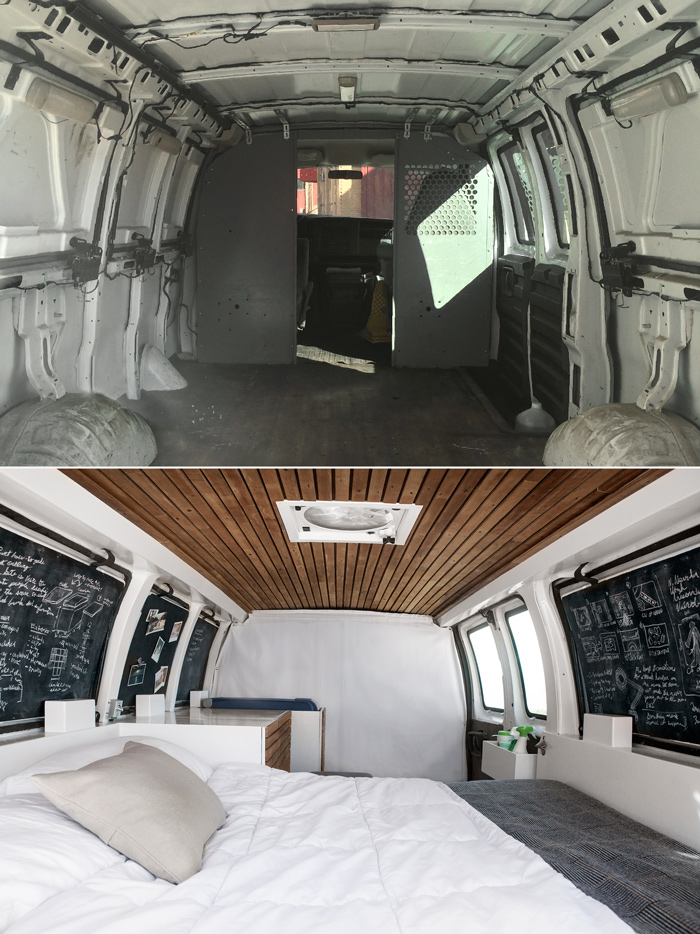
Before: A used 2003 Chevy Express formerly owned by an electrician in Vermont. After: A finished campervan fit for a relatively short-statured king.
2 Do I need carpentry experience?
No! Carpentry experience is not required. Luckily the conversion process is conducive to learning general carpentry skills in an incremental fashion. Every step builds off of what you did previously.
You’re going to make mistakes and get frustrated along the way. It’s going to take a significant amount of time. This is normal. By the end of it all, you’ll have developed a whole new set of skills that will empower you to build and create for a lifetime to come.
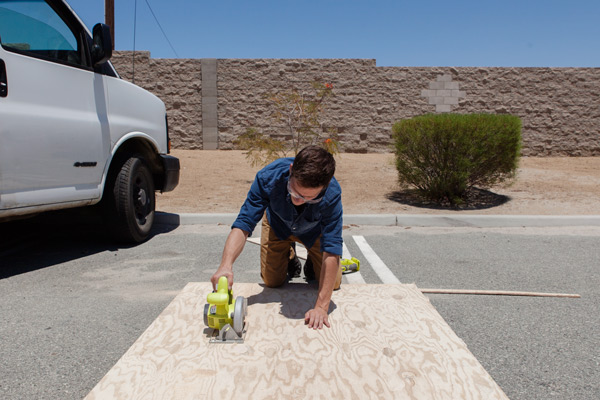
Pretending like I know what I’m doing.
Dad Knows Best
Try to find someone with carpentry/general handyman skills to provide advice, instruction and the occasional helping hand. And since it is the 21st century, you can always learn a lot by watching instructional videos on Youtube.
3 Time spent on conversion
I bought my van in August of 2014. I didn’t have a finished campervan until June the following year. Admittedly, a full-time job at the beginning and several intensive freelance projects afterwards meant the work on the van was an on and off again procedure. If I had worked on the van consistently everyday with few distractions, I’d estimate the amount of time it would take to go from empty van to finished camper would be about two to three months.
So how can you speed up the process? Here’s a few ideas:
- Convert your van during the summer. Longer days, more sun and warmer weather will dramatically increase your productivity.
- Rope an extra person (or two!) into helping you. My dad helped me quite a lot on this project. However, we estimated I did approximately 70% of the work by myself and 30% with the two of us. Needless to say, two definitely get more done than just one.
- Be less picky. I’m known to be a stickler for the details—which can be a good thing—except when everything takes three times as long because you can’t decide on the perfect shade of brown for the wood stain.
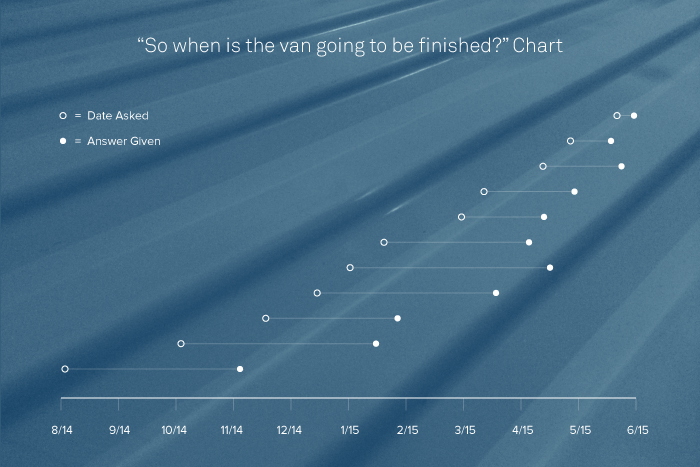
While converting a van you’ll often get asked by friends and family when the van will be complete. Comparing your answers over time gives a true sense of expectations versus reality.
4 Money spent on conversion
The empty cargo van was bought for $4k. New tires and the several repairs needed (that we mostly did ourselves) cost around $3k. The cost of materials and tools to convert the van ballooned to around $5k. This made the total cost of the van conversion around $12k. If I add in the cost of the things I bartered for (fridge and solar) the total would jump to almost $15k. That’s a lot of money! And definitely more money than I planned on spending. However, since I saw this project as more of a personal design exercise and fantastic learning opportunity, I felt like I could justify the cost.
There are people who’ve—out of necessity—converted their vans for only a few hundred dollars. It’s possible. For every material and tool I used there are cheaper alternatives that will shave off major money from the total cost. Alter an Ikea shelving unit instead of building custom cabinets. Use strand board instead of birch plywood. Don’t paint. Simplify your needs and requirements. These are all things that can reduce cost.
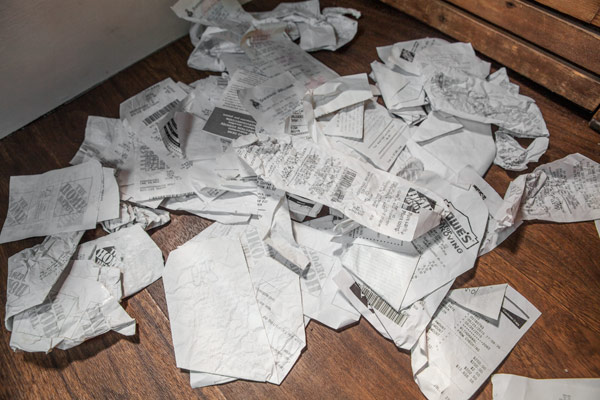
Literally every van related receipt from the conversion process. By the end of it all, the folks at the home improvement store down the block knew my name by heart.
5 Designing the van’s layout
There’s a reason most van conversions differ significantly from one another. Each person and each van has a unique set of requirements. While I—being a shorter individual—can manage sleeping perpendicular to the walls of the van, taller folks will need a longer bed and thus a different van layout. I planned on cooking most meals, so I valued a decent amount of space for a stove, refrigerator and pantry. Others who plan on eating out or eating simpler could use that kitchen space for something else entirely.
There is one quality that is true of every successful van conversion: space is used efficiently. There’s not a wasted inch and almost every part of the van should have multiple uses. In my case, my bed also functions as a couch and my main place of storage. My kitchen doubles as a desk and a dining area. Finding ways to combine functions in a multi-purpose way is the key to squeezing the most out of a small space.
-
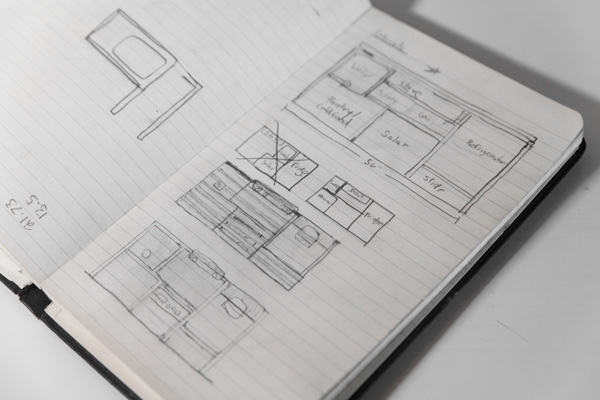
The multiple iterations of what the kitchen unit could be. The finished layout is not much different from these initial sketches.
-
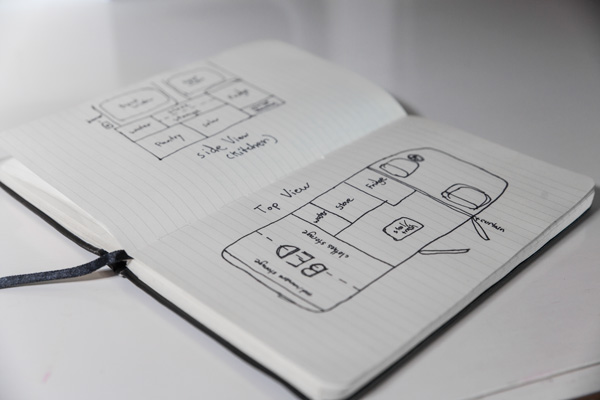
A bird's eye view of the entire van's layout. The small space limits the possibilities significantly. These limitations can be a good thing.
6 Designing the van’s look and feel
I’ve done design work off and on for the better part of 5 years. This meant I quite enjoyed the challenge of creating a campervan that was unique and incorporated my aesthetic preferences in a meaningful way. Using Photoshop I combined minimalist Scandinavian design principles with a tiny hint of industrial style to mockup a look that ended up being surprisingly close to what the final product looked like.
Whether your style leans more rustic, more “hippie” or something else entirely, try to imagine what you want your van to look and feel like when it’s all said and done. Those broad choices will most likely impact the materials you use and the way you use them.
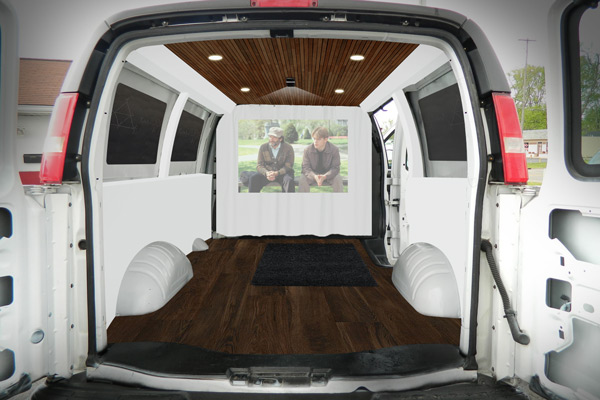
An initial mockup of the interior made in Photoshop during a wintry December night.
Next Chapter

Preparation
Follow the adventure on Instagram
Proudly hosted by Media Temple.
©2016 All rights reserved.