Insulation
Difficulty
Time
10 days


One of the most crucial steps in the van conversion process. Do it wrong or not at all and you’ll regret it when winter rolls in.
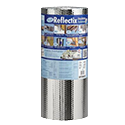
1 Cut reflectix to fit wall
Precut the reflectix insulation to roughly the same size as the section of wall you’re covering. Then after applying duct tape to temporarily hold it up to the wall, run a sharpie along the edges and curves to get an accurate pattern of where to cut off the excess.
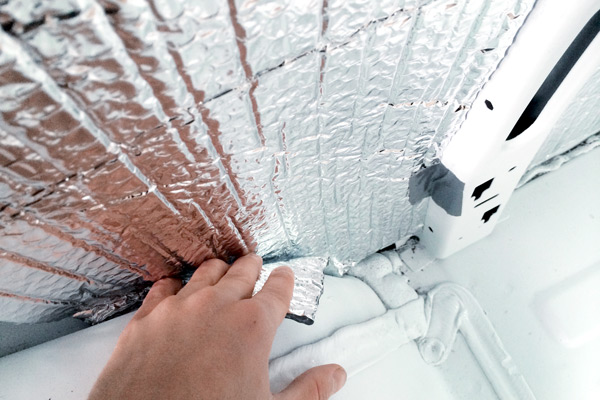
Shoving the reflectix into the crack of the wheel well.
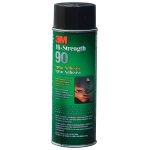
2 Glue reflectix to wall
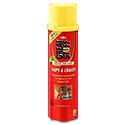
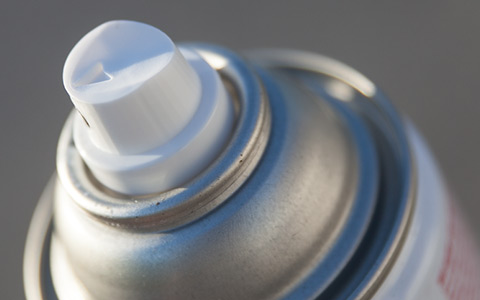
Use heavy duty spray adhesive to permanently attach the reflectix to the wall. Spray on backside of reflectix. Spray on wall. Wait 5 minutes. Line up reflectix to wall and firmly press.
-
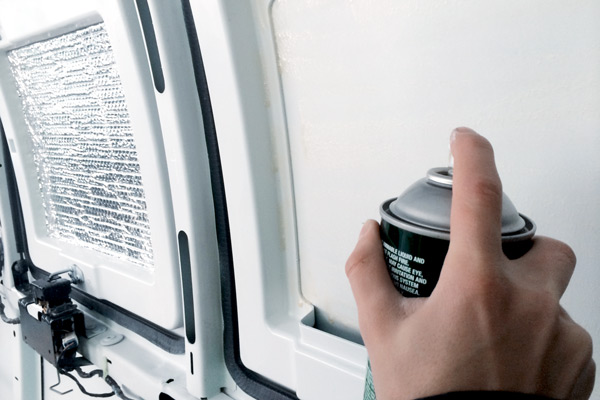
The spray adhesive is extremely sticky, so try to line it up to exactly the right place before you apply. It’s difficult to move around afterwards.
-

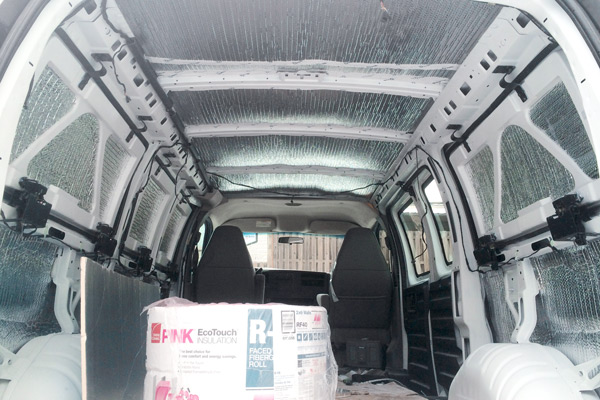
A wall full of reflectix is a beautiful site to see. Like the inside of a spaceship of sorts.
3 Cut and glue reflectix to ceiling
No special templates for this. For my van, the roof width was exactly the same width as the large roll of reflectix. Just had to measure length and cut.
You can use the spray adhesive to attach reflectix to the ceiling, but I just used Tyvek tape around the edges. Holds up fine.
Since heat rises, the reflectix on your ceiling does the important job of keeping the heat inside your van during the cold winter months.
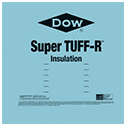
4 Cut rigid foam paneling to cover upper panels and ceiling
Measure and cut the rigid foam to fit into the ceiling and the pop-out windows (if you have them). These should go over the reflectix. If you cut the foam ever so slightly larger than it needs to be, you can squeeze the paneling into it’s spot and it’ll stay without any assistance. Probably still good to tape the edges with Tyvek for added precaution.
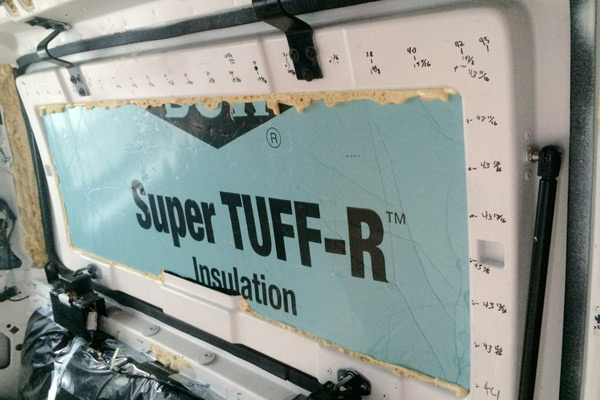
The interior of these pop-out windows were completely asymmetrical. Incremental measurements were made to make a perfectly fitting template for a perfectly fitting rigid insulation.
5 Spray foam in every remaining crack, crevice and gap
Couple tips for foaming. Do not use the “Big Gap Filler” unless you want foam bellowing out of the gaps 12 hours later. It just expands too much relative to what you spray. Makes it difficult to control. Instead, use the step down: “Gap and Crack Filler”.
Also, avoid foaming during cold weather (or at least use a heater for the entirety of foaming). If it’s too cold the foam won’t setup properly and then 2 months later, when it gets warmer, you’ll find foam oozing out of your woodwork.
Lastly, if you have REALLY big open gaps to fill, foam about a third or half of the depth and let it it dry. Once it dries, foam the rest. If you don’t do this, the weight of the foam will just push out onto your floor and cause a huge mess and major headache.
After it’s fully setup and dry, trim excess foam.
-
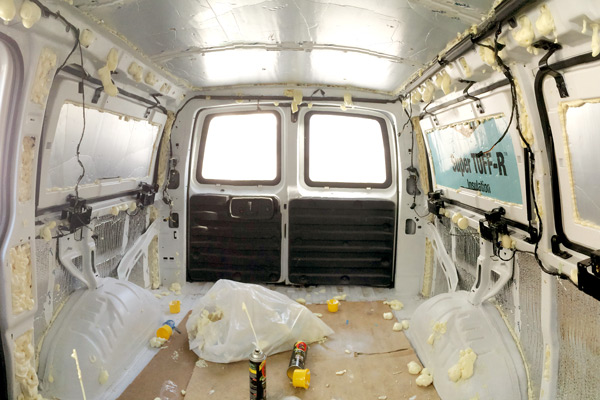
The spray insulation is extremely messy to work with. Be careful and patient to reduce the amount of clean up after the fact.
-
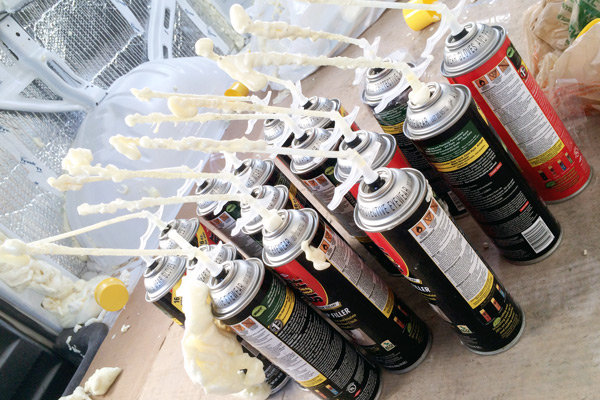
If you can buy the spray foam in bulk, do it. You're going to use a lot of it.
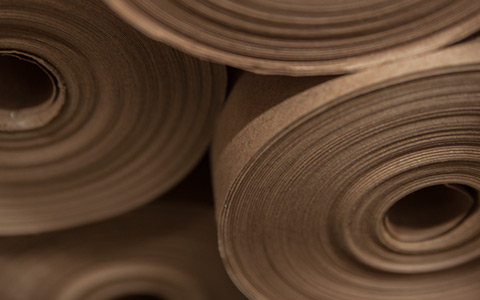
6 Make paper template for floor to cut reflectix and rigid paneling
Using the paper scrap method, make a template of your floor with a roll of rose paper. Try to be as detailed and accurate as you can.
Additionally, if you take really good care of this template (making sure not to wrinkle, tear or otherwise damage it), you’ll be able to use this template for the insulation AND subflooring. Two birds with one stone.
-
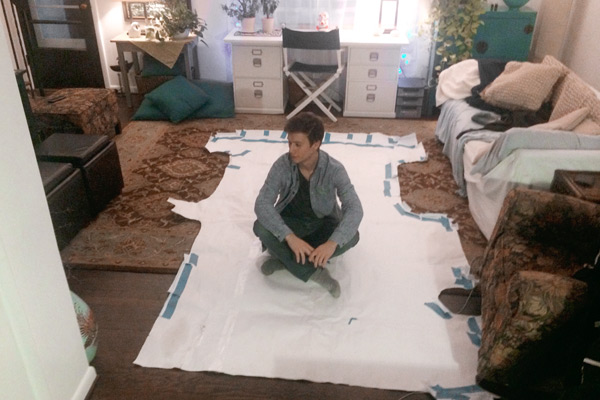
The first time I realized the amount of space I'd be calling home in the near future.
-
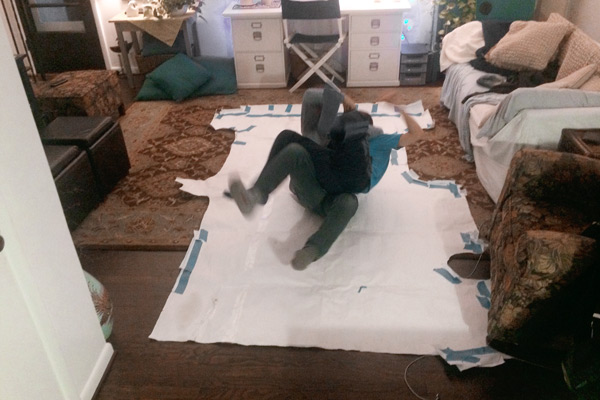
Still enough room to beat up on a little brother though.
7 Attach reflectix and rigid paneling to floor
Since the individual pieces of reflectix and rigid foam material will likely be smaller than you’re full template, you’ll have to design a mosaic layout. Try to lay it out efficiently so you’re creating the least amount of excess material.
Trace the template onto your mosaic of material and cut. Move the material inside the van and use tyvek tape to tape the seams of the mosaic layout. Tape the edges of the insulation to the van so it doesn’t move.
Some minor adjustments to the rigid insulation may be necessary to get the right fit. Usually these can be done by eye.
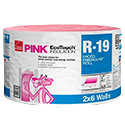
8 Cut, stuff and attach fiberglass insulation to walls
Last bit of insulation to complete is the fiberglass insulation for the bottom-half of your walls (or your full wall if your van doesn’t have windows). Cut the fiberglass insulation to roughly the same size as the space you are covering. Then trim to fit curves and odd shapes.
Put the fiberglass insulation into thick garbage bags and Tyvek tape any openings or tears to form a moisture-proof barrier. Some modification of the garbage bags will be necessary. Be careful not to puncture unwanted holes in the garbage bags.
Lastly, use Tyvek tape to attach the insulated garbage bags to the walls in their appropriate places.
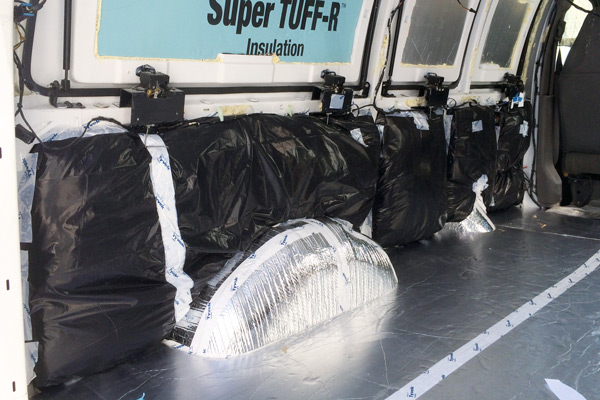
Not exactly pretty, but it does the job. Remember to use gloves and wear long sleeves when handling itchy fiberglass insulation.
Prev Chapter
Preparation
Next Chapter
Flooring
Follow the adventure on Instagram
Proudly hosted by Media Temple.
©2016 All rights reserved.