Walls
Difficulty
Time
14 days
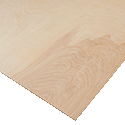
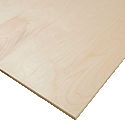
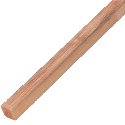
Materials Used
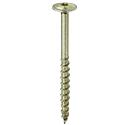

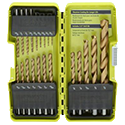
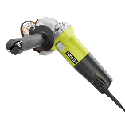
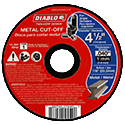
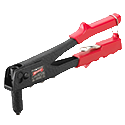
Tools Used

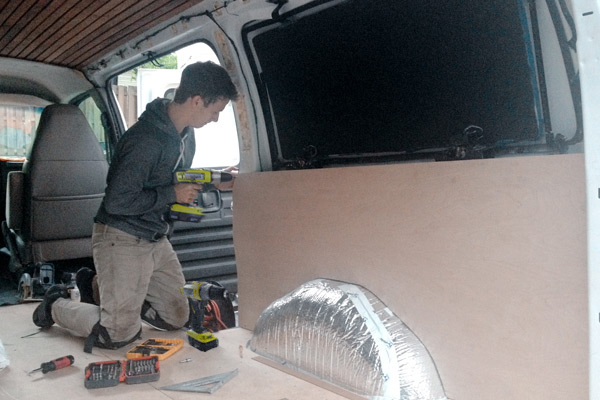
Various design and build challenges make shaping and securing the walls a true test of your carpentry skills.
1 Cut plywood walls with use of templates
Your walls are essentially just rectangles. However, you’ll need to make some special cuts to go around the wheel wells and the curve of the back of your van. Make templates for these and cut them from your long plywood walls.
-
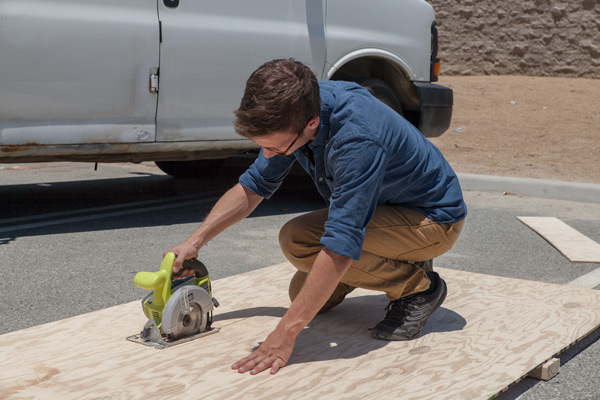
Cut the height of the wall first. Then, take your jigsaw to cut out the places marked on your template.
-
Similar to the process of building the floor, pieces of cardboard were used to get the shape of the wheel well.
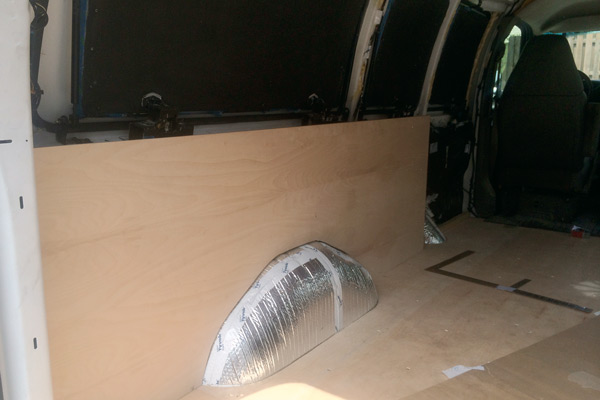
2 Secure walls using braces
Cut 2” x 2” studs to size and secure them to the van just inside of where your plywood walls will be. You’ll use those studs to secure the walls in place.
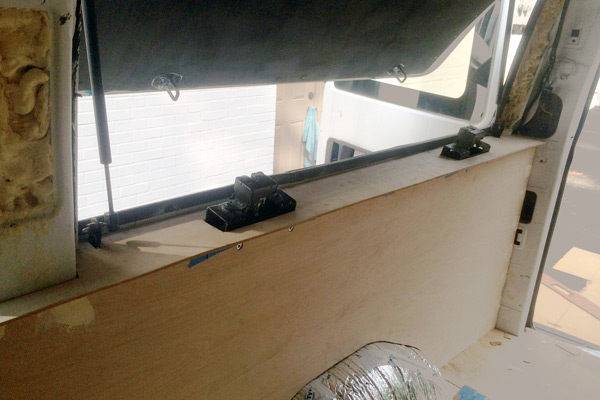
The only place to secure the walls up top were to the latches for the pop-out windows. With the use of cardboard spacers you’ll be able to build a wall that is straight and perfectly perpendicular to the floor. Double check with a level before putting the final screws in.
-
Making sure the studs you will attach the walls to are straight and square will make your job easier when building out the rest of the van.
-
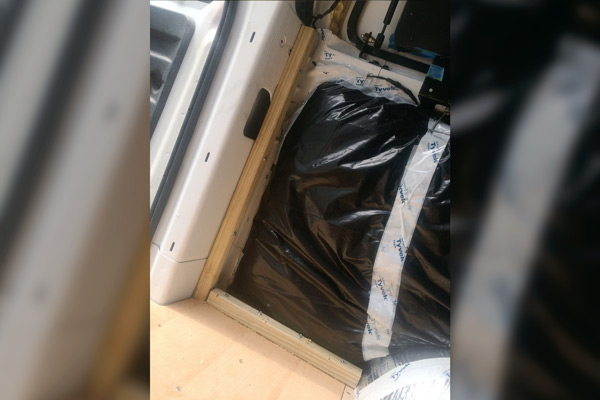
Sometimes I was able to secure the wall straight into the ribs of the van's walls. However do not secure straight to the wall as you don't want screws popping out of the exterior!
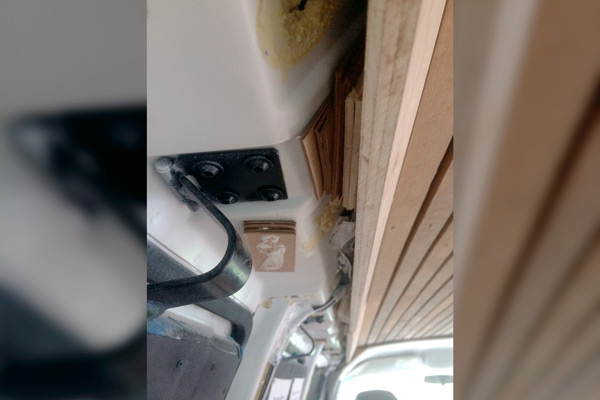
3 Cut and attach additional wall coverings
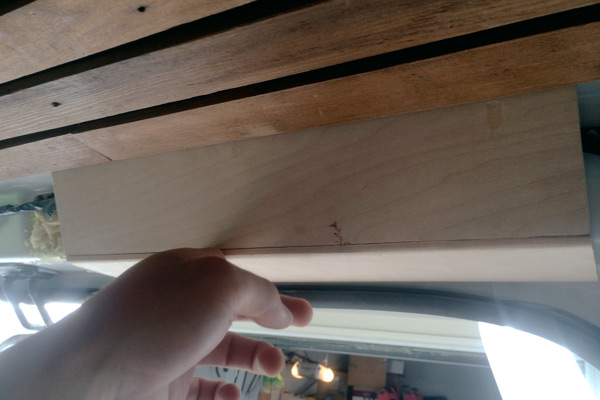
While this is presented as only one step on here, this step is probably the most time consuming and advanced thing you’ll do during the van conversion. Almost every surface along the wall not covered by wood will need a custom piece made for it. For my van this included the columns between the pop-out windows, the entire back arch (which I added a small shelving unit to) and the top section that runs the length of the van.
You’ll need exact measurements, precise templates and lots of patience. For pieces that need to curve with sections of your van I recommend soaking the plywood in a bathtub for five to ten minutes before securing and/or assembling. If you use clamps when assembling the wood will dry to the curvature you set.
Fill and sand the sunken screw holes once everything is secure.
-
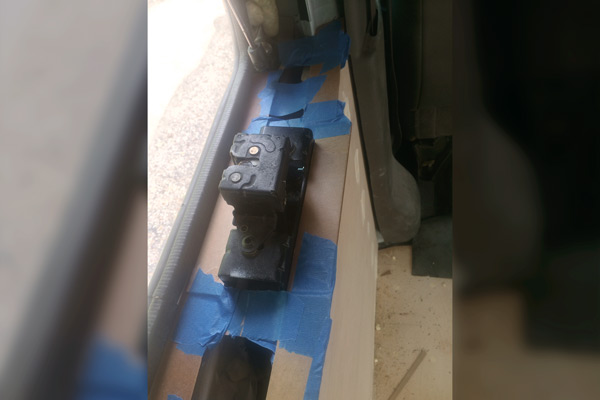
More templating around the latches of the pop-out windows.
-
The overhang was then trimmed afterwards. This now works as a nice shelf to temporarily set down small items like a phone or wallet.
-
Created a test piece to figure out the correct angle.
-
Cardboard spacers were used achieve the correct amount of space and angle between the wood and metal.
-
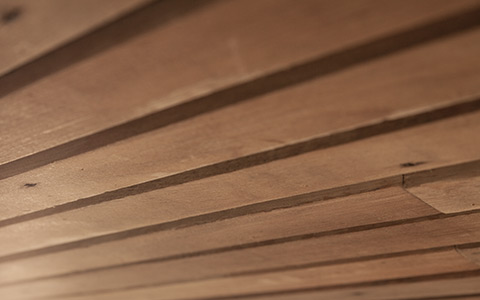
The finished top wall covering.
-
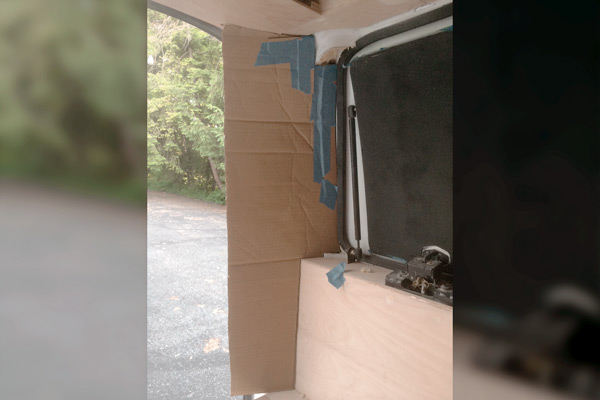
A cardboard template that was created to make this unusual covering.
-
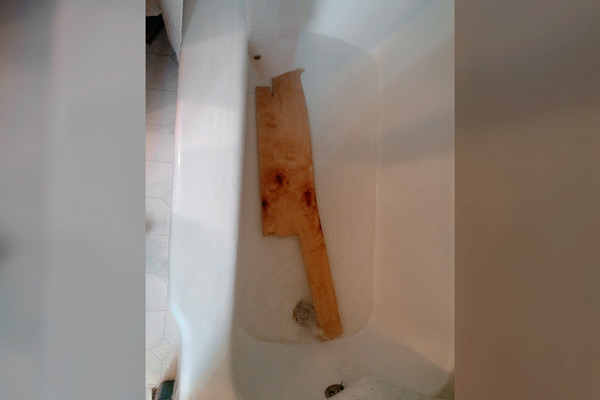
A slight bend in the wood was necessary to achieve the curve of van's wall. The wood was soaked in the bath to add flexibility to it.
-
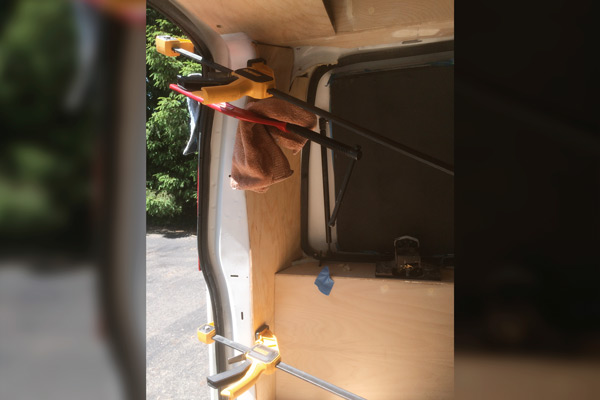
A number of clamps to hold it into place while screwing it into the wall.
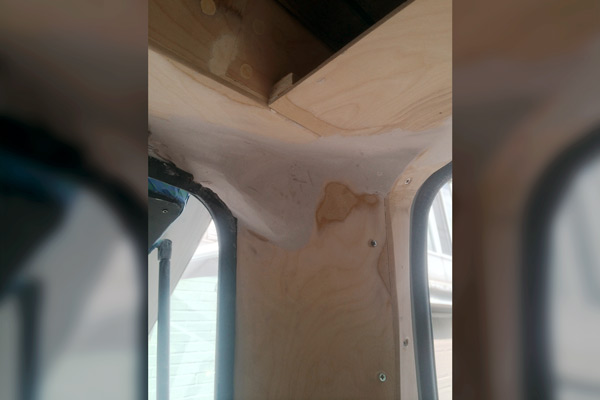
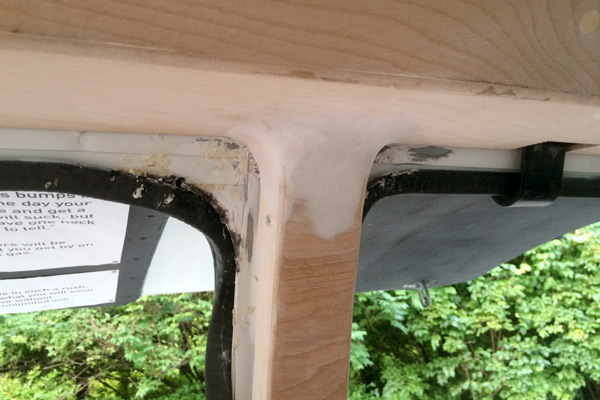
4 Bondo over odd gaps
I had some unique spots that were too small and intricate to cover with wood. I used bondo to cover these and then hand sanded them to shape them into a desired form. I also did this on some seams where two pieces of wood met, to create a seamless transition between the two.
You may have to apply bondo and sand in several stages to get a smooth surface.
-
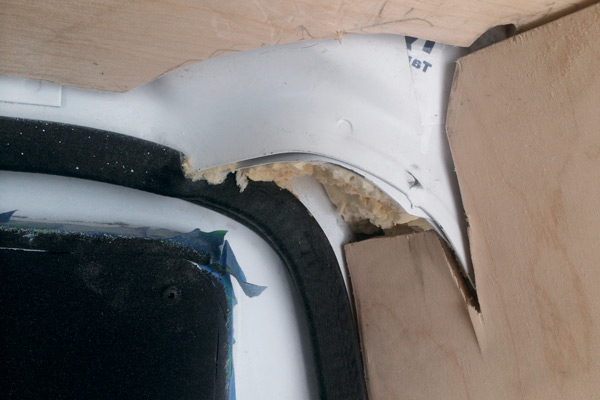
The large gap between to wall coverings.
-
After using bondo to cover the area. This area was sanded several more time to achieve a smooth uniform shape.
-
More bondo was used to add a sense of flow between the ceiling and the wall columns.
-
The final arch all made from wood and bondo. You can see a shelf was made to take advantage of the dead space in the corner.

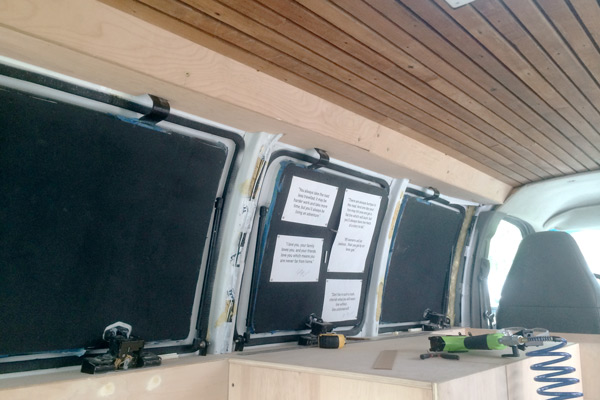
5 Cut sheet metal to cover pop-out windows (if you have them)
After buying a long sheet of steel, make paper templates to fit over the pop-out windows. Then use an angle grinder with a metal cut off wheel to cut the sheet metal into a more manageable size. After tracing the templates onto the sheet metal, you can then take metal snips and carefully cut it out. Wear thick safety gloves as the metal edge will be extremely sharp! To fix this take a rough grit sandpaper and sand the edges to dull them.
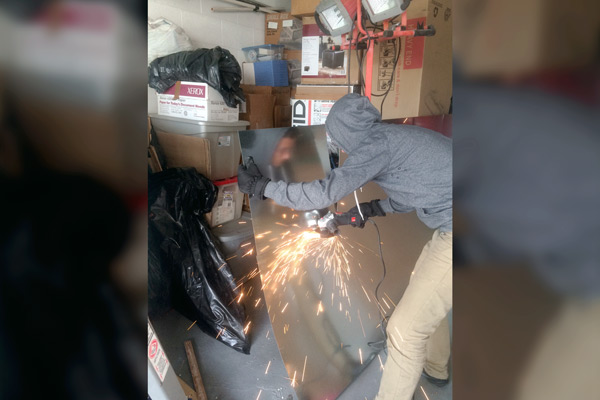
A large piece of sheet metal being cut into a more manageable size.
6 Rivet sheet metal to pop-out windows (if you have them)
Mark on the metal in even spacing where your rivets will go. I used a rough 2” spacing.
-
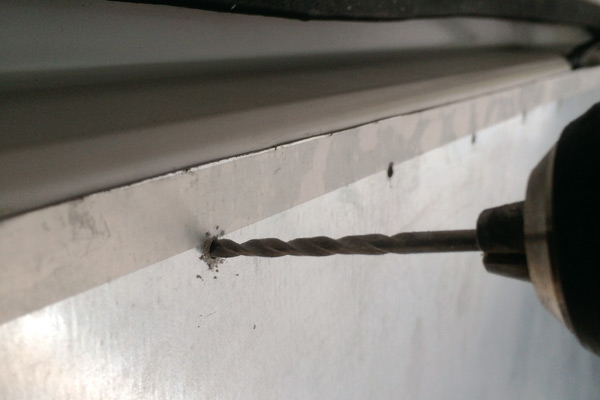
Tape can be a surprisingly easy way to get a consistent depth.
-
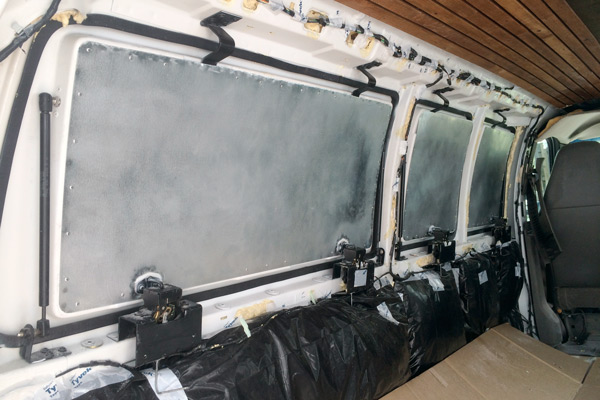
The final pieces of metal secured to the pop-out windows. Notice the holes that had to be made to go around the latches.
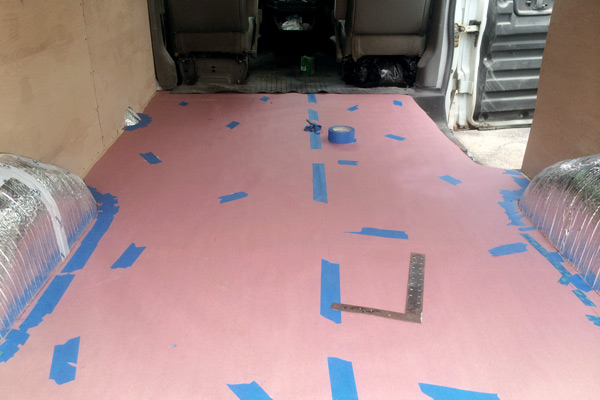
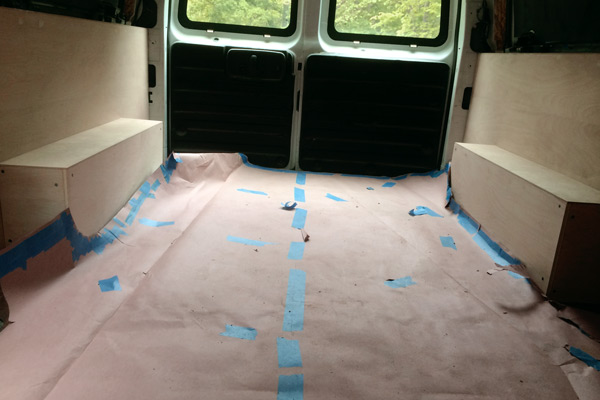
7 RESUME. Make new floor template and install vinyl floor
Now that your wall and ceiling is finished, you can complete your floor by installing your single sheet vinyl floor. Make a final floor template. Trace and cut the vinyl. Place in the van and apply the special floor adhesive. Remember to apply one half first then the other and roll out to get any air bubbles to escape.
-
So sick of making floor templates. Luckily this was the last one.
-

Installing vinyl flooring is surprisingly easy. Just follow the instructions and be patiently deliberate.
8 Build wheel well covers
These will be simple boxes to cover the wheel wells. You’ll be securing parts of your bed base to these so make sure they are the height that you want your bed to be (without the mattress).
By this point, building a couple of boxes should be an easy undertaking.
Prev Chapter
Ceiling
Next Chapter
Bed and Kitchen
Follow the adventure on Instagram
Proudly hosted by Media Temple.
©2016 All rights reserved.