Finishing Touches
Difficulty
Time
10 days
Materials Used


The final steps of the conversion process include all the odds and ends that add a level of polish and function to your new campervan. This is the home stretch!
1 Tape for painting
You’ll be painting a lot so make sure to do a top notch job taping anything you don’t want painted. I failed to do this and got paint on various things I did not want paint on. A touch up job and some heavy cleaning was required.
Take the extra time and care to get the taping just right.
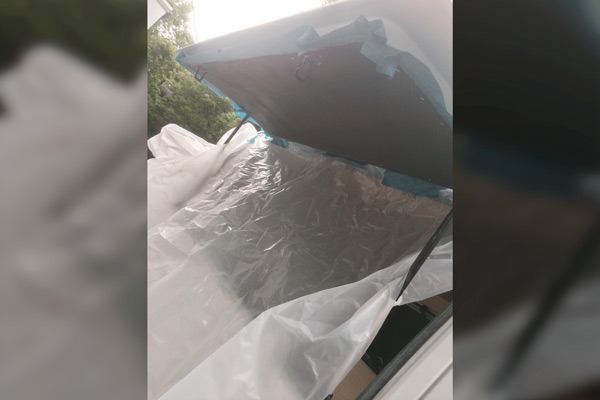
2 Paint and stain
To paint most of the wood work I used one coat of white primer and two coats of a high gloss paint with a light sanding in between coats. I found the high gloss sheen works best because it makes it very difficult to stain and incredibly easy to clean.
The fronts of the cabinets were then stained the same color as the ceiling plywood. And finally the sheet metal on the pop-out windows were painted with black chalkboard spray paint. Do multiple layers with light sanding in between to get a smooth chalkboard. Do not use the roll-on chalkboard paint as it leaves an undesired texture after drying.
-
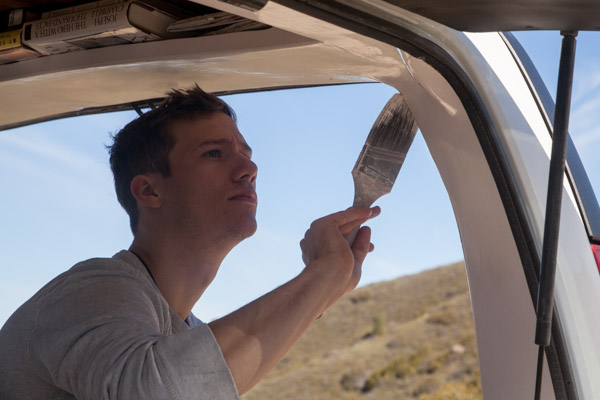
The specific paint I used was amazing at leveling out and making brush marks disappear. It was important not to overbrush with this stuff.
-
The cabinets were stained a dark walnut color.
-
After trying the roll on chalkboard paint and being extremely disappointed, I found the spray paint to be much more effective.
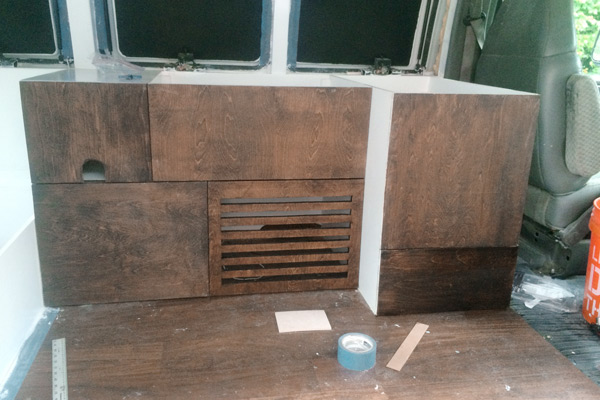
3 Attach paneling to kitchen doors (optional)
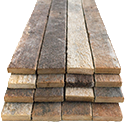
Using the same print out pattern/template as the ceiling, I marked and secured pieces of lath to the cabinet doors.

Used more stained lath to match the ceiling. You can see some of the individual pieces of lath had to be split into several pieces to take into account the different doors.
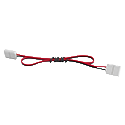
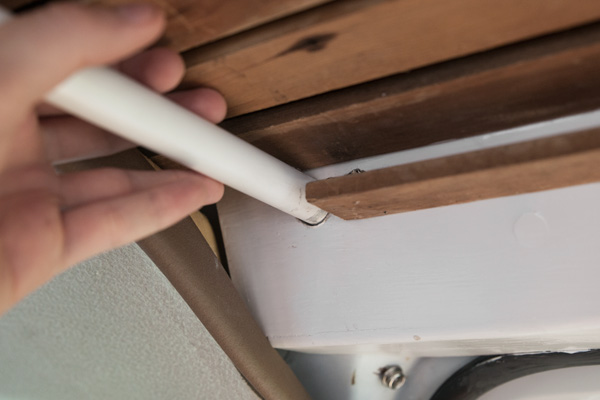
4 Attach “lighting shelves” and install LED lights
With more leftover lath, I trimmed the length of the wood at an angle to ensure it was parallel to the floor when attached. On each side of the van I ran the LED lights from the front to the back and back to the front (for a total of two layers deep of LED lights on each side). These two rolls of LEDs (one on each side) produces a lot of light if I need it. Luckily they can be dimmed to much lower for normal use.
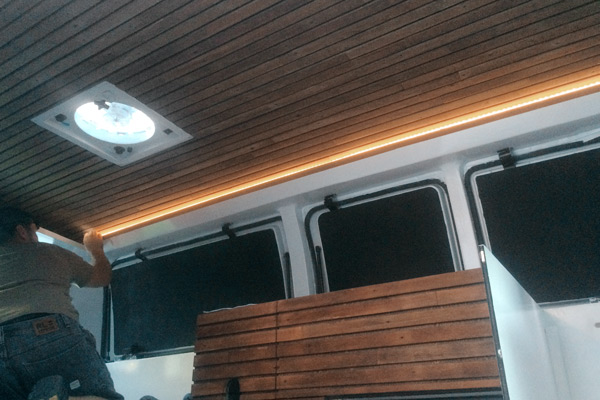
While the lights were difficult to squeeze into the tiny light shelves that were built, the effect they produce when turned on is fantastic. A subdued, subtle texture that provides more than enough light when needed.
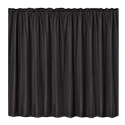
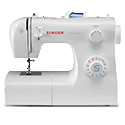
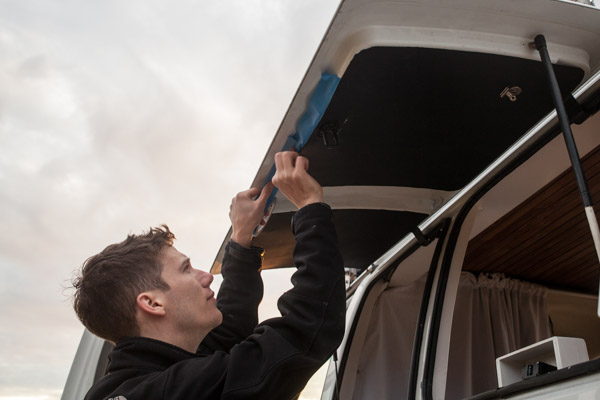
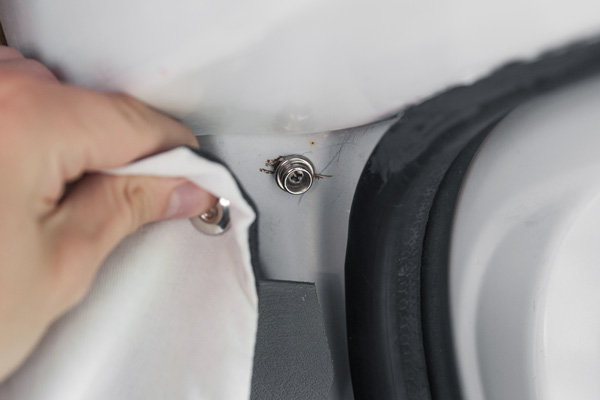
5 Sew magnetic blackout curtains for windows
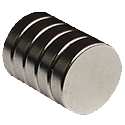
My mother is an excellent seamstress and offered to help the cause by making my curtains. I produced a paper template for each window and she used that to alter a blackout curtain to fit. Little rare earth magnets were sewn in various places along the edges. This allows these window coverings to be easily put up or removed.
-
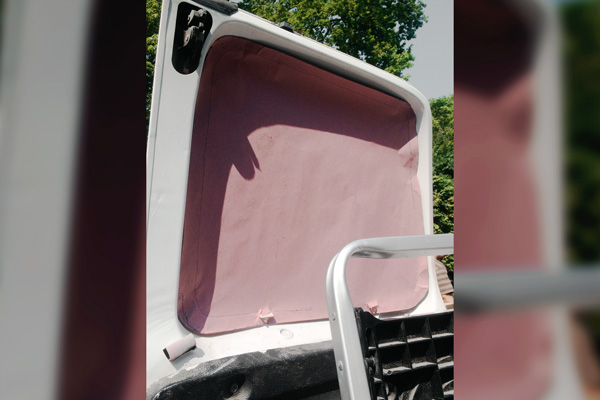
Using rose paper to trace around the windows and create accurate templates.
-
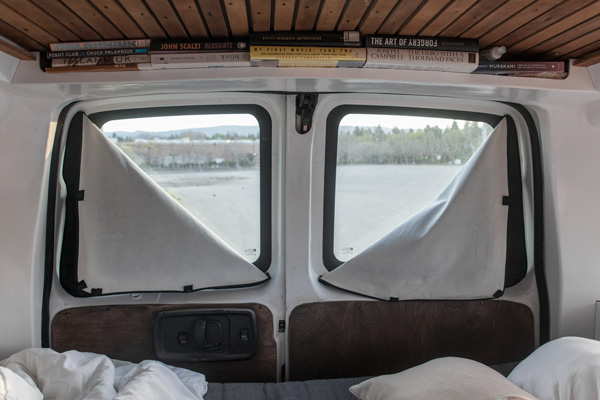
The curtains can easily be partially or fully removed to allow in various amounts of light.
-
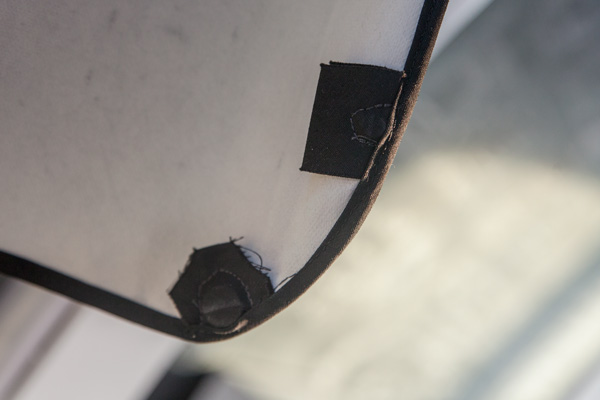
The detail showing how the magnets are attached. These little pockets are hidden by the window's frame when put fully up.
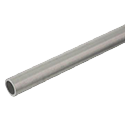
6 Sew and hang front divider curtain with pole
Another curtain was made to to divide the front driving area and the rest of the van. The curtain is double-sided. The driver side has a blackout curtain while the living area has a white curtain. Additional templates were made to fit the odd shapes along the sides. The pole is then fed through the curtain rod casing that extends across the entire width of the van. Finally the curtain can be stretched taut with some snaps I installed on the side walls.
-
A hole was drilled to the exact diameter of the pole for a nice snug fit.
-
You can buy this snap kit at most hardware stores. These allow the ability to easily secure and unsecure the curtain in place.
7 Cut and attach new door panels
Not liking the black plastic that covers the doors, I removed them, used these covers to make templates for each door and then cut new covers out of 1/4” plywood. The plywood was then secured using slightly countersunk screws. The screws were then filled and the entire cover stained to match.
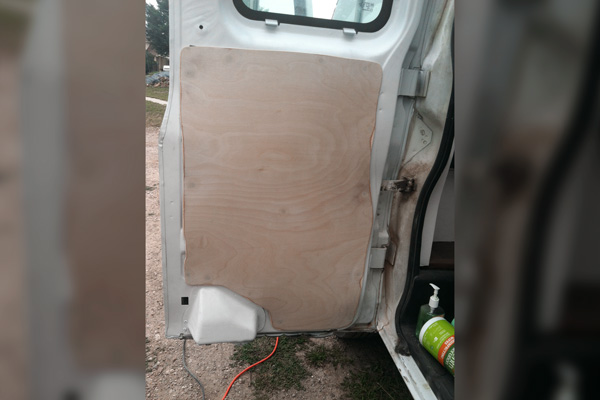
Quarter inch ply gave just enough flexibility to be secured properly to the curve of the door.
8 Build “cleaning” station
I actually had the idea and built this cleaning station while on the road. I’m so glad I did. It’s simple but saves the headache of opening storage every time I need to clean or wipe something down. Three-faced box was built and secured to the door with chopped off screws, a nailer and some caulk. The paper towel holder was bought at a store.
-
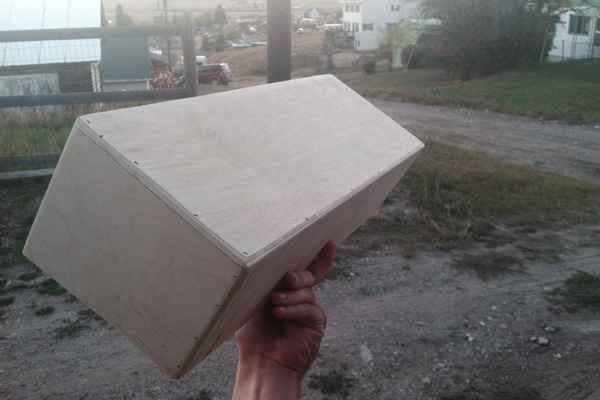
A simple box that you should be a pro at making by now. The edges were sanded to produce a nice rounded edge.
-
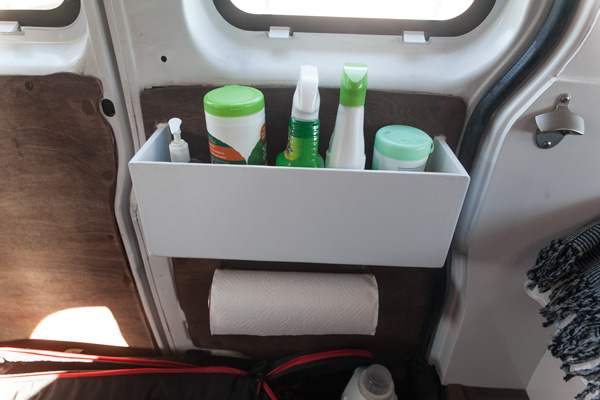
Theis shelf allows easy access to wipes, cleaning sprays and hand sanitizer.
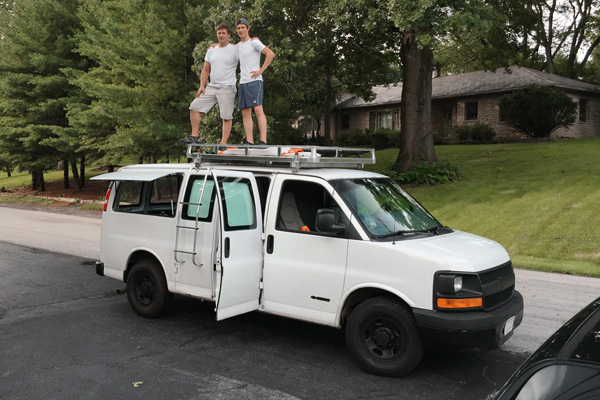
9 Admire your finished camper van!
It’s done. Stand back. Celebrate. Take some photos and then hit the road! Your real adventure has just begun.
-
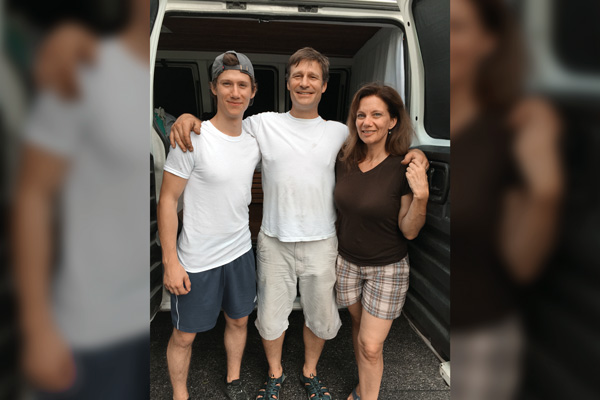
The extremely gracious and helpful parents. Couldn't have done it without 'em.
-
A celebratory pose for a killer father and son team.
-
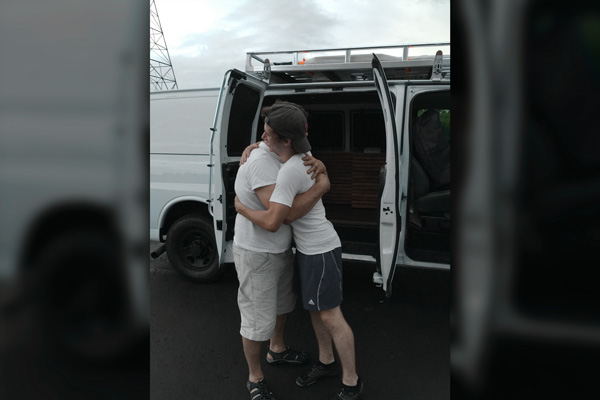
A heartfelt goodbye the day I left out on the open road.
Prev Chapter

Electrical and Solar
Lifestyle Manual
Is it for you?
Follow the adventure on Instagram
Proudly hosted by Media Temple.
©2016 All rights reserved.